
As a seasoned auto repair expert at obd2scanner.store, I’ve seen firsthand how vehicle technology has advanced, especially with keyless entry systems. While these systems offer unparalleled convenience, they can sometimes present a learning curve when you’re trying to diagnose your vehicle using an OBD2 scanner. If you’re looking to understand how to effectively use your OBD2 scanner with your keyless entry car, you’ve come to the right place. This guide will provide you with a detailed, step-by-step approach to seamlessly connect your scanner and interpret the data, empowering you to maintain and understand your vehicle better.
Decoding Keyless Entry Systems and OBD2 Scanners
 Car Scanner Functions | Foxwell
Modern vehicles equipped with keyless entry systems represent a significant leap in automotive technology. These systems, also known as passive entry systems, allow you to lock, unlock, and even start your car without physically using a traditional key. Instead, the system relies on radio-frequency identification (RFID) or Bluetooth technology. When your key fob, which emits a unique digital signal, is within a certain proximity to your vehicle, the car’s computer recognizes it, enabling functions like unlocking doors or starting the engine with a push of a button.
Understanding this technology is crucial because it interacts with your car’s onboard computer system, the same system that your OBD2 scanner accesses. The On-Board Diagnostics II (OBD2) system is standardized across most modern vehicles and is designed to monitor various aspects of your car’s performance, from engine health to emissions. Connecting an OBD2 scanner to your keyless entry vehicle allows you to tap into this wealth of data, helping you diagnose problems, monitor system performance, and ensure your car is running optimally.
Selecting the Right OBD2 Scanner for Keyless Entry Cars
Choosing the appropriate OBD2 scanner is the first critical step. Not all scanners are created equal, and the features you need will depend on your goals, whether it’s basic diagnostics or more advanced procedures like key fob programming.
Firstly, basic OBD2 code readers are perfect for reading and clearing diagnostic trouble codes (DTCs). These are user-friendly and affordable, providing essential information about engine and emission-related issues.
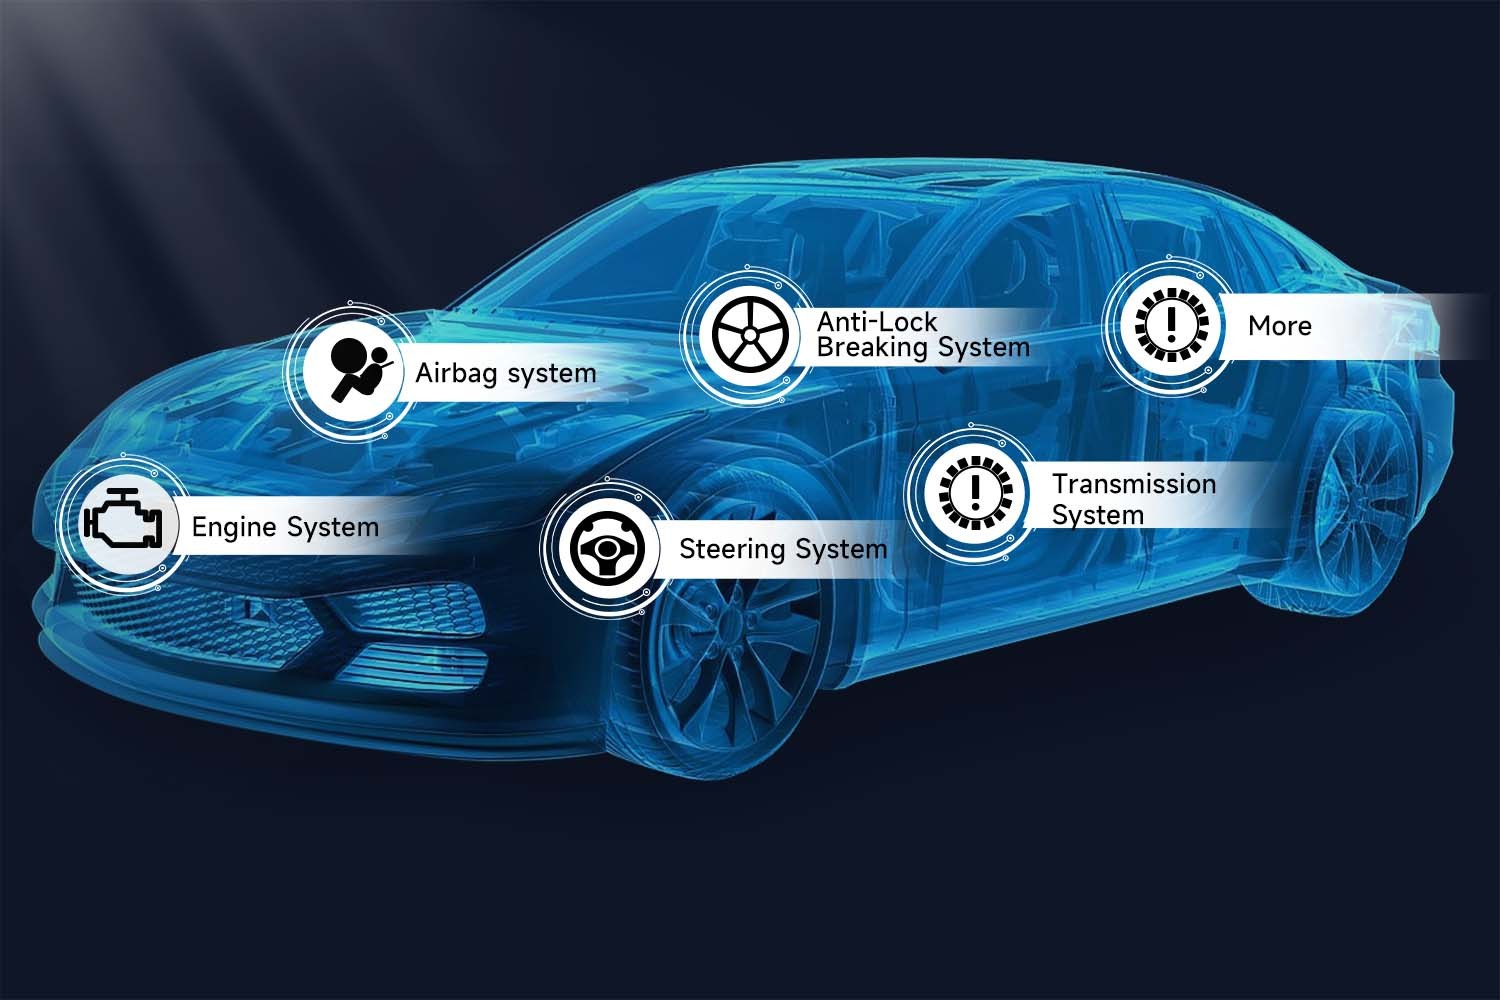
For more comprehensive diagnostics, enhanced OBD2 scanners offer broader system coverage, accessing modules beyond just the engine and transmission. These scanners often include features like live data streaming, component testing, and advanced reset functions, making them invaluable for in-depth analysis.
If you’re interested in features related to your keyless entry system itself, such as key fob programming or remote start diagnostics, you’ll need a professional-grade diagnostic scanner or key programmer. These advanced tools are equipped with specialized functions that can interact with your vehicle’s security and body control modules, allowing for key programming, remote system testing, and more. Brands like Foxwell and Autel are known for producing scanners with these advanced capabilities. For example, the Foxwell NT809BT is a popular choice, offering a balance of comprehensive diagnostics and user-friendliness.
Step-by-Step Guide: OBD2 Scanner Connection with Keyless Entry Systems
Connecting your OBD2 scanner to a keyless entry vehicle is usually a straightforward process. Here’s a detailed guide to ensure a successful connection:
-
Prepare Your Vehicle and Scanner: Ensure your vehicle is parked in a safe, well-ventilated area. Turn off the engine but leave the ignition in the “Accessory” or “ON” position. This provides power to the car’s systems without starting the engine. Make sure your OBD2 scanner is charged or properly connected to its power source.
-
Locate the OBD2 Port: The OBD2 port is typically located under the dashboard on the driver’s side. It’s usually within a foot or two of the steering column. Look for a 16-pin, trapezoidal-shaped connector. If you have trouble finding it, consult your vehicle’s owner’s manual for the exact location.
-
Connect the Scanner: Plug your OBD2 scanner’s connector firmly into the OBD2 port. You should feel it click into place.
-
Power On the Scanner and Vehicle Systems: Turn on your OBD2 scanner. It should power up and begin to establish a connection with your vehicle’s computer system. Ensure your key fob is inside the vehicle, as some systems might require key fob presence for full diagnostic access.
-
Vehicle Identification: Most modern scanners will automatically attempt to identify your vehicle’s make, model, and VIN (Vehicle Identification Number). Follow the prompts on your scanner’s screen to confirm or manually enter your vehicle information if required. This step is crucial for accurate diagnostics.
-
Initiate Diagnostic Scan: Once connected and the vehicle is identified, navigate the scanner’s menu to begin a diagnostic scan. You’ll typically find options for “Diagnostics,” “Code Reading,” or “System Scan.” Select the appropriate option to start the scanning process.
-
Interpret the Results: After the scan, the scanner will display any diagnostic trouble codes (DTCs) and other data. Record any codes and consult your scanner’s manual or a reliable online resource to understand what these codes mean. Many scanners also offer descriptions of the codes directly on the screen.
-
Advanced Functions (if applicable): If your scanner supports advanced functions like key fob programming, navigate to the relevant menu options. Be cautious when using advanced functions and always follow the manufacturer’s instructions carefully. Incorrect programming can lead to vehicle security issues.
-
Disconnect the Scanner: Once you’ve finished your diagnostic session, safely disconnect the scanner from the OBD2 port. Turn off the scanner and store it properly. Turn off the vehicle’s ignition completely.
Troubleshooting Common OBD2 Scanner Connection Issues
Even with a straightforward process, you might encounter issues. Here are common problems and troubleshooting tips:
-
Scanner Won’t Power On: Check the scanner’s power source. If it’s battery-operated, ensure the batteries are charged or replace them. If it’s powered via the OBD2 port, ensure the vehicle’s ignition is in the “ON” or “Accessory” position.
-
Connection Failure: If the scanner fails to connect, ensure the connector is firmly plugged into the OBD2 port. Try turning the vehicle ignition off and then back to the “ON” position. Check your scanner’s compatibility with your vehicle make and model.
-
Communication Errors: Communication errors can occur due to software glitches or issues with the vehicle’s communication system. Restart both the scanner and the vehicle. Ensure there are no damaged wires or pins in the OBD2 port or scanner connector.
-
Inaccurate Vehicle Identification: If the scanner misidentifies your vehicle, manually enter the VIN. Double-check the VIN for accuracy.
-
Key Fob Programming Issues: Key fob programming can be complex and vehicle-specific. Ensure your scanner is capable of key programming for your vehicle model. Follow the scanner’s instructions precisely, and consider consulting your vehicle’s service manual for specific procedures.
Ensuring Compatibility and Safety
Before connecting any OBD2 scanner, always verify compatibility with your vehicle. Check the scanner’s product specifications and compatibility lists, which are usually available on the manufacturer’s website. Consult automotive forums or communities for user experiences with specific scanners and vehicle models.
Safety is paramount when working with vehicle electronics. Use scanners from reputable brands to avoid potential security vulnerabilities or damage to your vehicle’s systems. Regularly update your scanner’s software to ensure it has the latest protocols and security patches. Always disconnect the scanner after use to prevent unauthorized access to your vehicle’s computer system.
Conclusion: Empowering Keyless Car Owners with OBD2 Scanners
Understanding how to use an OBD2 scanner with your keyless entry vehicle is a powerful skill for any car owner. It allows you to take a proactive approach to vehicle maintenance, diagnose issues early, and potentially save money on repairs. By choosing the right scanner, following the correct connection procedures, and understanding basic troubleshooting, you can confidently leverage OBD2 technology to keep your keyless entry vehicle running smoothly and efficiently. Embrace the power of diagnostics and take control of your car’s health today.
FAQs
How to Use OBD2 Scanner on Push Start Car?
Using an OBD2 scanner on a push-start car is similar to any keyless entry vehicle. Without starting the engine, put the vehicle in “Accessory” or “ON” mode by pressing the start button once or twice (without pressing the brake pedal). Then, connect your OBD2 scanner to the OBD2 port and proceed with diagnostics as usual.
Can You Use an OBD2 Scanner to Program a Key Fob?
Standard, basic OBD2 scanners typically cannot program key fobs. Key fob programming requires specialized tools, such as advanced diagnostic scanners or dedicated key programmers, which have specific software and hardware to communicate with your vehicle’s security system. Check the specifications of your OBD2 scanner to see if key fob programming is a supported feature.
How Do I Connect My Car to Code Reader?
To connect your car to a code reader, locate the OBD2 port under the dashboard. Turn your vehicle’s ignition to the “ON” position (engine off). Plug the code reader into the OBD2 port. The code reader will power on and establish a connection, allowing you to read diagnostic trouble codes and access vehicle data.