Proper engine timing is crucial for your vehicle’s health and performance. If you’re wondering whether an OBD2 scanner can assist in this vital maintenance task, the answer is a resounding yes. This guide will walk you through using an OBD2 scanner to check and understand your engine timing, ensuring your vehicle runs smoothly and efficiently. We’ll cover everything from connecting your scanner to interpreting the data and understanding what it means for your engine’s health, making you proficient in using this valuable tool for maintaining optimal Obd 2 Scanner Timing.
Why Leverage an OBD2 Scanner for Timing Checks?
When it comes to assessing engine timing, an OBD2 scanner offers a modern and efficient alternative to traditional, often cumbersome methods. Why choose an OBD2 scanner? The benefits are numerous, starting with sheer convenience. Unlike older methods that require a collection of tools and significant time investment, an OBD2 scanner provides instant data with a simple plug-in connection.
One of the most significant advantages of using an OBD2 scanner is its unparalleled accuracy. These devices retrieve data directly from your car’s computer system, offering precise insights into your engine’s operation. This level of accuracy surpasses manual methods like timing lights or visual estimations, which can be prone to error, especially for those with less experience. An OBD2 scanner eliminates guesswork and provides reliable data for effective obd 2 scanner timing analysis.
Troubleshooting becomes significantly simpler with an OBD2 scanner. Forget spending hours manually checking various components. Once connected, the scanner delivers the essential readings within minutes, streamlining routine maintenance and diagnostic checks. This efficiency is invaluable for anyone looking to perform regular vehicle upkeep without unnecessary complications.
Furthermore, OBD2 scanners are remarkably user-friendly. You don’t need to be a seasoned mechanic to operate one effectively. Most scanners come with intuitive interfaces and clear instructions. Many even offer smartphone app integration, guiding you through the process step-by-step. This accessibility makes OBD2 scanners perfect for DIY enthusiasts and anyone aiming to save on mechanic costs while maintaining optimal obd 2 scanner timing.
In essence, utilizing an OBD2 scanner for engine timing checks represents a smart, accurate, and modern approach to vehicle maintenance. It brings professional-grade diagnostic capabilities directly to your garage, simplifying the process of keeping your car in peak condition and ensuring accurate obd 2 scanner timing readings.
Getting Started: Essential Preparations
Before you begin checking your engine timing, a few preliminary steps are crucial. First and foremost, ensure your OBD2 scanner is compatible with your vehicle. The vast majority of modern cars are OBD2 compliant, but if you’re unsure, consult your vehicle’s owner’s manual for confirmation.
Once you’ve confirmed compatibility and have your scanner ready, prepare your vehicle. Park it on a level surface and ensure the engine is completely switched off. This is essential for safety and for obtaining accurate readings. A level surface provides a stable environment, contributing to a smoother and more reliable diagnostic process, especially when assessing obd 2 scanner timing.
Tip: Before proceeding, double-check that your OBD2 scanner is adequately powered. Ensure it’s fully charged or equipped with fresh batteries. There’s nothing more frustrating than a scanner losing power mid-diagnosis. Additionally, keep your vehicle’s service manual within reach. It can provide vehicle-specific instructions and specifications that may be invaluable during troubleshooting or interpretation of obd 2 scanner timing data.
With your OBD2 scanner prepped, your car parked safely, and your engine off, you’re set for an efficient and successful timing check. These simple preparations will pave the way for accurate readings and a smoother experience in understanding your obd 2 scanner timing. Now, let’s connect that scanner and access the data!
Connecting Your OBD2 Scanner: A Step-by-Step Guide
Now that you’re prepared, let’s proceed with connecting your OBD2 scanner to your vehicle. The first step is locating the OBD2 port. In most vehicles, this port is situated under the dashboard on the driver’s side. However, it can sometimes be concealed behind a small cover, so take a moment to locate it.
Once you’ve found the port, take your OBD2 scanner and carefully plug it in. You should feel a click when it’s securely connected. Next, turn your vehicle’s ignition to the “ON” position, but do not start the engine. This will power up the scanner and your car’s computer systems, allowing communication between the two for obd 2 scanner timing data access.
With the scanner powered on, you should see a menu appear on its screen. While the interface is generally user-friendly, consulting the scanner’s manual can be helpful, especially for first-time users. Navigate through the menu options until you find sections labeled “Engine” or “Powertrain.” Within these sections, look for parameters such as “RPM” (Revolutions Per Minute) and “Ignition Timing Advance” for cylinder #1. These are the key readings you’ll need to accurately assess your obd 2 scanner timing.
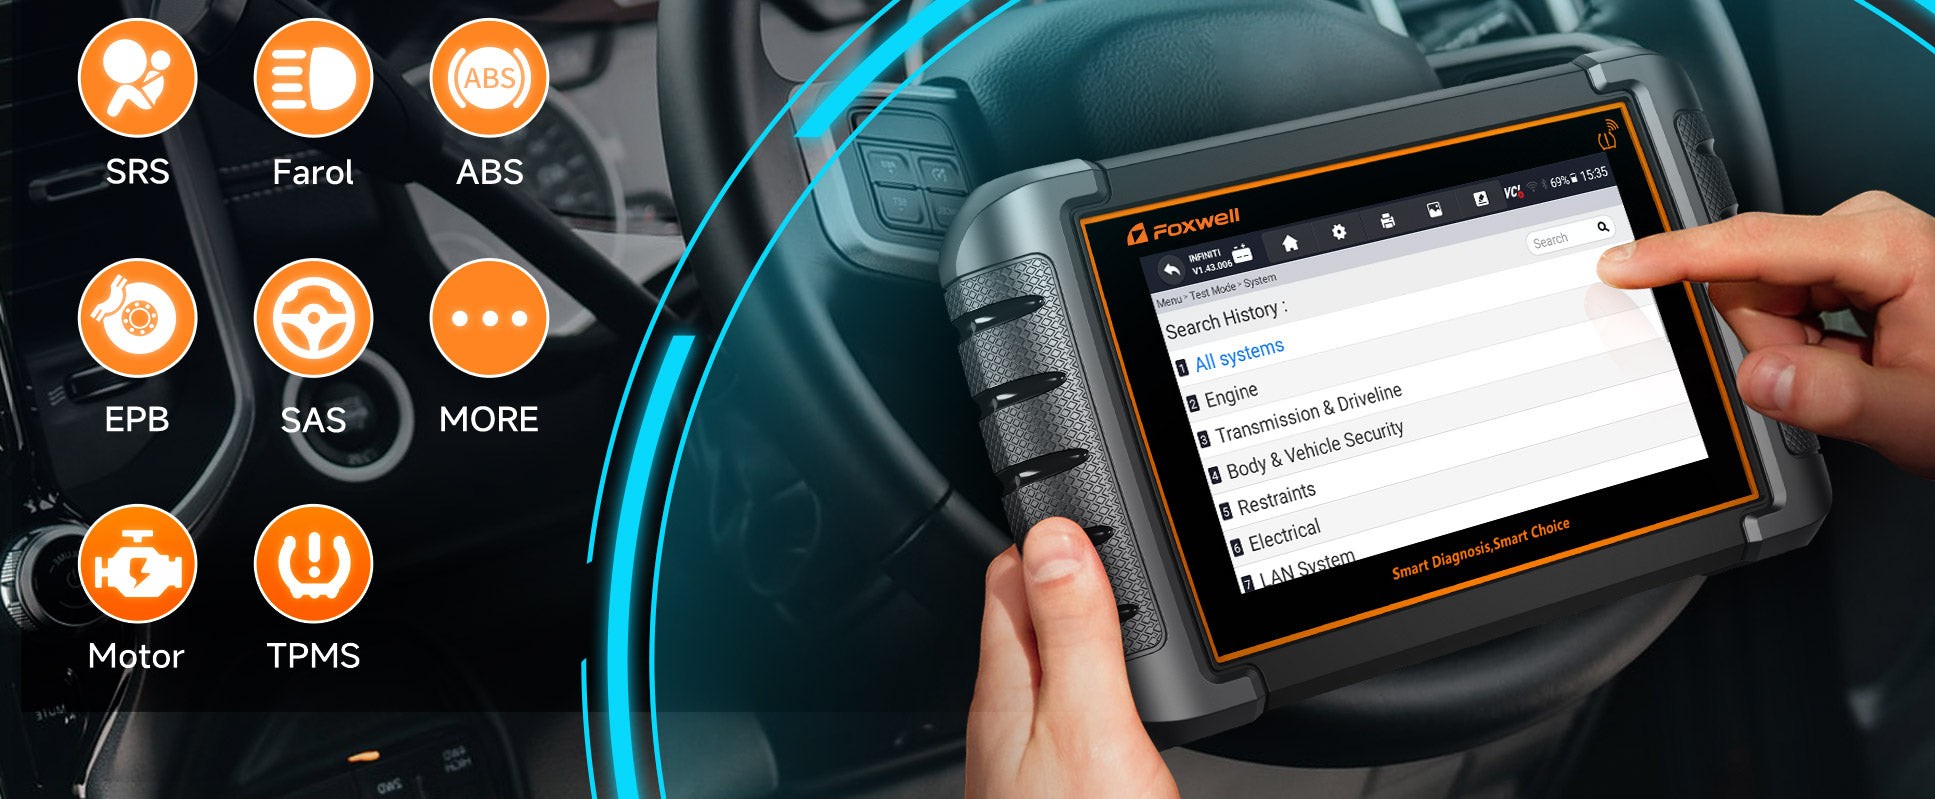
Many OBD2 scanners, including models like the Foxwell NT809TS, offer features to display and save readings. This is incredibly useful for tracking changes over time, comparing data across different checks, or sharing information with a professional mechanic. Once the data is displayed on your scanner, the next crucial step is interpretation.
Connecting an OBD2 scanner is a straightforward process: locate the port, plug in the scanner, turn the ignition to “ON,” and navigate to the relevant menus. Tools like the Foxwell NT809TS make accessing and managing crucial data for obd 2 scanner timing checks easier than ever.
Accessing Timing Data: Unveiling Engine Performance Metrics
With your scanner successfully connected and powered up, it’s time to delve into accessing the engine timing data. Specifically, you’ll want to locate the RPM (Revolutions Per Minute) readings and the Ignition Timing Advance for cylinder #1. Using your scanner’s interface, navigate to the “Engine” or “Powertrain” section you located earlier.
Within this section, you’re looking for a “Live Data” or similar option. This feature provides real-time information about your engine’s performance. The RPM reading will indicate the current speed of your engine’s crankshaft, measured in revolutions per minute. This is a critical parameter, as timing adjustments are often assessed and made at specific RPM values. Understanding RPM is fundamental to interpreting obd 2 scanner timing data.
Next, find the Ignition Timing Advance reading. This value represents the angle at which the spark plug fires in relation to the piston’s position in the cylinder – specifically, how many degrees before Top Dead Center (BTDC) the spark plug ignites the fuel-air mixture. This pre-ignition is essential for efficient combustion and smooth engine operation. These two readings, RPM and Ignition Timing Advance, are the primary metrics you need to evaluate your engine’s obd 2 scanner timing.
Advanced OBD2 scanners, such as the Foxwell NT809TS, typically display these readings clearly and may even allow you to save the data for future reference. This logging capability is invaluable for monitoring engine performance trends over time and is particularly useful when tracking changes after adjustments or repairs related to obd 2 scanner timing.
In summary, accessing timing data involves using your scanner’s menu to find the “Live Data” section and pinpointing the RPM and Ignition Timing Advance readings. These metrics are your key to understanding and accurately assessing your engine’s timing performance and ensuring optimal obd 2 scanner timing.
Interpreting Your Data: Making Sense of the Readings
Once you’ve successfully accessed the data, the next crucial step is interpreting those numbers. RPM readings, as mentioned earlier, indicate your engine speed, measured in revolutions per minute. For timing checks, you’ll typically want your engine idling. Most vehicles have a specified idle RPM range, usually between 700-900 RPM. Consult your vehicle’s service manual to confirm the exact recommended idle RPM for accurate obd 2 scanner timing assessment.
Ignition Timing Advance readings can be a bit more nuanced. This reading, usually expressed in degrees BTDC (Before Top Dead Center), signifies how far in advance of the piston reaching its highest point in the cylinder the spark plug fires. An incorrect Ignition Timing Advance can lead to various engine performance issues. If the timing is too advanced (firing too early), it can cause engine knocking or pinging. If it’s too retarded (firing too late), it can lead to reduced power and fuel efficiency. Understanding these implications is key to effective obd 2 scanner timing adjustments.
For example, if your vehicle’s manual specifies an ignition timing of 10 degrees BTDC at 800 RPM, and your scanner shows a significantly different value at that RPM, it indicates a potential timing issue requiring adjustment. Accurate interpretation of these readings is vital. Incorrect timing can lead to a cascade of problems, from poor fuel economy and reduced engine power to more serious issues like engine damage.
If you’re unsure about interpreting your readings, always cross-reference them with the specifications in your vehicle’s service manual. If doubt persists, seeking guidance from a qualified mechanic is always a prudent step to ensure correct obd 2 scanner timing and prevent potential engine damage. The goal is to align your RPM and Ignition Timing Advance readings with the manufacturer’s specifications for optimal engine performance.
Adjusting Engine Timing: When and How to Fine-Tune
If your OBD2 scanner readings indicate that your engine timing is off, don’t be alarmed. In many cases, adjustments can be made, sometimes even without specialized mechanical expertise. The first step is to determine your engine’s timing adjustment mechanism. Older vehicles may use a distributor, while newer ones typically employ systems involving timing belts or chains. The adjustment procedure varies significantly depending on the system, impacting how you approach obd 2 scanner timing correction.
For vehicles with a distributor, adjusting timing often involves loosening the distributor hold-down bolt and carefully rotating the distributor. Small adjustments can make a significant difference. While rotating, monitor your OBD2 scanner readings for RPM and Ignition Timing Advance. Continue adjusting until you achieve the optimal timing specified in your vehicle’s manual. After each adjustment, re-tighten the distributor hold-down bolt and re-check the readings to confirm the change and ensure accurate obd 2 scanner timing.
Engines utilizing timing belts or chains generally require more complex procedures for timing adjustment. These may involve adjusting belt tension or repositioning the belt or chain itself. These adjustments often necessitate consulting your vehicle’s service manual for detailed instructions or seeking professional assistance from a mechanic. Attempting complex timing adjustments without proper knowledge can lead to serious engine damage, emphasizing the importance of caution when dealing with obd 2 scanner timing on these systems.
Remember, when adjusting engine timing, precision is key. Make small, incremental adjustments and consistently use your OBD2 scanner to monitor the resulting changes in RPM and Ignition Timing Advance. This iterative process allows for fine-tuning and helps prevent over-adjustment. If you find the adjustment process daunting or are uncomfortable working with engine components, it’s always best to seek professional help to ensure accurate and safe obd 2 scanner timing adjustments.
Common Issues and Troubleshooting: Navigating Scanner Challenges
Even with the best tools, you might encounter challenges when using an OBD2 scanner for timing checks. One common issue is inaccurate readings. If you suspect your scanner is providing incorrect data, first ensure it’s properly connected to the OBD2 port and that your vehicle’s ignition is correctly in the “ON” position (engine off). Try unplugging and replugging the scanner; this simple step often resolves connection glitches that can affect obd 2 scanner timing readings.
Another challenge can be navigating the scanner’s menu to find the necessary data parameters. If you’re struggling to locate RPM or Ignition Timing Advance readings, consult your scanner’s user manual. Many manufacturers also provide online tutorials and support resources that can guide you step-by-step through the menu system and help you effectively access obd 2 scanner timing information.
If your scanner continues to malfunction or provide questionable readings, the issue might stem from the vehicle’s OBD2 port or the scanner itself. Try testing your scanner on another OBD2-compliant vehicle, if possible, to rule out scanner malfunction. If you suspect a problem with your vehicle’s OBD2 port, a mechanic can diagnose and repair it. Also, ensure your vehicle’s battery is in good condition. A weak battery can sometimes cause communication issues between the scanner and the vehicle’s computer, potentially affecting obd 2 scanner timing data accuracy.
Finally, if you find that your engine timing is significantly out of specification, and simple adjustments don’t rectify the problem, it could indicate more serious underlying engine issues. In such cases, it’s crucial to seek professional diagnosis. A mechanic can perform comprehensive engine diagnostics to identify and address any complex problems beyond basic timing adjustments, ensuring long-term engine health and accurate obd 2 scanner timing.
Troubleshooting is a normal part of the diagnostic process. By systematically checking connections, consulting manuals, and seeking professional help when needed, you can overcome these challenges and successfully utilize your OBD2 scanner for effective engine timing checks.
Tips for Accurate Timing Checks: Ensuring Reliable Results
To maximize the accuracy of your engine timing checks and ensure reliable obd 2 scanner timing results, keep these key tips in mind:
First, always conduct timing checks when your engine has reached its normal operating temperature. Cold engines can produce misleading readings, so allow your car to run for a sufficient period to warm up before starting your timing test. A warmed-up engine provides a more stable and accurate environment for assessing obd 2 scanner timing.
Secondly, choose an appropriate environment for your timing check. Avoid windy or noisy locations that could distract you or interfere with readings. Opt for a quiet, level area where you can focus on the scanner data and perform any necessary adjustments with precision. A stable and distraction-free environment contributes to more accurate obd 2 scanner timing analysis.
Regular vehicle maintenance plays a vital role in ensuring accurate timing checks. Keep track of the condition of your spark plugs, timing belt or chain, and related components. Worn or faulty components can negatively impact engine performance and throw off timing readings. Regular inspection and replacement of these parts, as per your vehicle’s maintenance schedule, will help maintain accurate obd 2 scanner timing assessments.
Utilize an OBD2 scanner that offers data logging and comparison features. This allows you to save readings over time and track changes in engine performance. For example, the Foxwell NT809TS and similar scanners allow data storage, which can be invaluable for long-term maintenance and for detecting subtle shifts in obd 2 scanner timing over time.
Before making any adjustments based on your scanner readings, always double-check the data and compare it against your vehicle manufacturer’s specifications. Misinterpretation of readings can easily occur, especially when working quickly. Taking the time to ensure accuracy before making adjustments is crucial for preventing potential engine problems related to obd 2 scanner timing.
By following these tips, you can significantly enhance the accuracy and reliability of your engine timing checks, contributing to smoother engine performance and prolonged vehicle health, all achieved through effective obd 2 scanner timing practices.
Conclusion: Engine Timing Made Accessible
As this guide has demonstrated, using an OBD2 scanner to check your engine timing is a straightforward and highly effective method. By following these steps, you can confidently monitor and understand your engine’s timing, a critical aspect of vehicle maintenance. Regular timing checks, facilitated by the ease and accuracy of OBD2 scanners, are essential for preventative maintenance, helping you avoid more significant engine problems down the road and ensuring optimal obd 2 scanner timing for lasting performance.
FAQs
What is an OBD2 scanner?
An OBD2 scanner is a diagnostic tool that reads trouble codes and live data from a vehicle’s onboard computer system, providing valuable insights into its health and performance, including parameters relevant to obd 2 scanner timing.
Can an OBD2 scanner check engine timing?
Yes, an OBD2 scanner is capable of monitoring engine timing parameters, such as Ignition Timing Advance and RPM, allowing you to assess and adjust your engine’s timing for optimal performance and efficiency based on obd 2 scanner timing readings.
How do I use an OBD2 scanner for timing?
To use an OBD2 scanner for timing, plug the scanner into your vehicle’s OBD2 port, turn the ignition to “ON” (engine off), navigate to the “Live Data” or “Engine” section in the scanner menu, locate RPM and Ignition Timing Advance readings, interpret the data against your vehicle’s specifications, and make adjustments as needed to ensure correct obd 2 scanner timing.