
Are you diving into the world of digital art and photo editing with Photoshop CS3? One tool you’ll quickly want to master is the Smudge Tool. Often overlooked by beginners, the Smudge Tool is a powerful asset for softening edges, blending colors, and creating unique artistic effects. This guide will walk you through understanding and effectively using the Smudge Tool in Photoshop CS3.
Understanding the Smudge Tool
Located in the toolbox alongside the Blur and Sharpen tools, the Smudge Tool, represented by an icon resembling a finger smearing paint, is designed to simulate the effect of dragging your finger through wet paint. It works by pushing pixels around, blending colors where you click and drag. This makes it incredibly versatile for various tasks, from subtle retouching to expressive digital painting.
How to Select and Use the Smudge Tool in Photoshop CS3
-
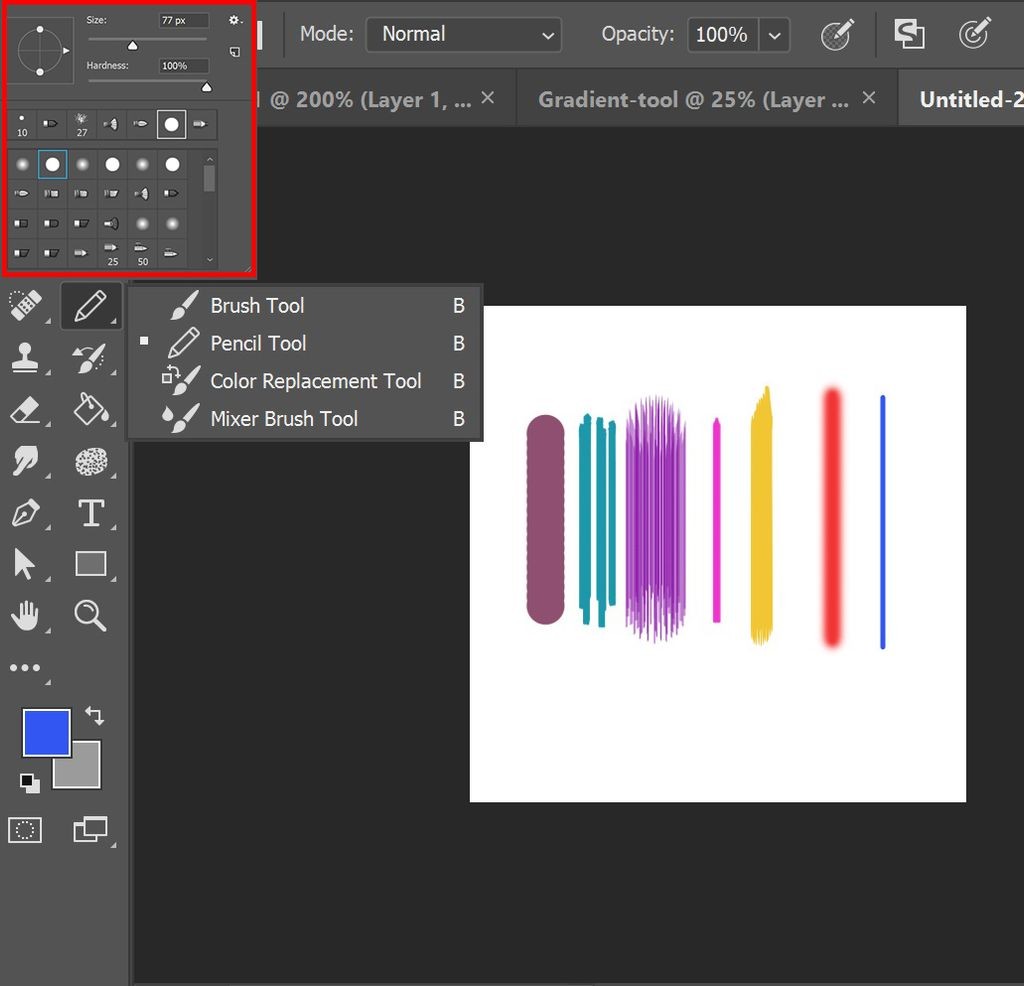
Locate the Tool: In your Photoshop CS3 toolbox, find the group of tools that includes the Blur Tool and Sharpen Tool. The Smudge Tool is usually nested within this group. You may need to click and hold on the visible tool icon to reveal the Smudge Tool and select it. Alternatively, you can use the keyboard shortcut “R” to quickly activate the Smudge Tool.
-
Choose Your Brush: Once selected, look to the Options Bar at the top of your screen. Here you can customize the Smudge Tool’s behavior. The most important setting is the Brush selection. Click on the brush preset picker to choose a brush tip that suits your needs. Soft round brushes are great for blending, while harder or textured brushes can create more defined smearing effects.
-
Adjust Brush Size and Hardness: Within the Brush options, you can adjust the Size of the brush, determining the area affected by each stroke. Hardness controls the edge of the brush – a softer brush (lower hardness) will create smoother blends, while a harder brush (higher hardness) will produce more abrupt smudges.
-
Set the Strength: The Strength setting in the Options Bar dictates how intensely the Smudge Tool pushes pixels. A higher strength value will result in more dramatic smudging with each stroke, while a lower strength offers more subtle and controlled blending. Experiment with different strength levels to find what works best for your current task.
-
Choose a Mode (Optional): Photoshop CS3 offers different Modes for the Smudge Tool, influencing how it interacts with colors. Common modes include Normal, Darken, and Lighten. “Normal” mode simply smudges colors. “Darken” mode will primarily smudge to darken areas, and “Lighten” will smudge to lighten. Experiment with these modes to achieve specific color blending effects.
-
Smudge! Now you’re ready to start smudging. Position your cursor over the area you want to affect and click and drag in the direction you want to smudge. Observe how the pixels are pushed and blended as you move your mouse. For controlled smudging, use short, deliberate strokes. For broader effects, use longer, flowing strokes.
Practical Applications of the Smudge Tool
The Smudge Tool might seem simple, but it’s surprisingly versatile. Here are some common uses:
-
Softening Edges: In photo editing, you can use a soft Smudge Tool with low strength to subtly soften harsh edges, like those around cut-out selections or in portraits for a smoother skin appearance.
-
Blending Colors in Digital Painting: Digital artists frequently use the Smudge Tool to blend colors seamlessly, creating smooth gradients and transitions in their paintings. It’s excellent for creating depth and realism in artwork.
-
Creating Hair Strands and Fur: The Smudge Tool is fantastic for refining details like hair or fur in digital paintings or photo manipulations. By smudging out from existing strands, you can create finer, more realistic-looking hairs.
-
Subtle Skin Retouching: Beyond just softening edges, the Smudge Tool can be used for minor skin retouching. With a very soft brush and low strength, you can gently blend away minor blemishes or uneven skin tones. However, use this sparingly to avoid an overly artificial look.
-
Artistic Smearing and Abstract Effects: Don’t limit yourself to subtle blending! Experiment with stronger Smudge Tool settings and different brush types to create intentional smearing effects. This can be used for abstract art, motion blur simulations, or adding a painterly feel to photographs.
Tips for Effective Smudging
-
Use Layers Non-Destructively: Whenever possible, work on a separate layer when using the Smudge Tool. This allows you to make adjustments or undo your smudging without affecting the original image layer.
-
Start with Low Strength: It’s always better to start with a lower strength setting and gradually increase it as needed. Over-smudging can quickly lead to unwanted blurriness or loss of detail.
-
Experiment with Brush Types: Don’t be afraid to try different brush shapes and textures with the Smudge Tool. Different brushes will produce varied smudging effects, opening up creative possibilities.
-
Use Short Strokes for Control: For precise blending or detail work, use short, controlled strokes rather than long, sweeping motions. This gives you more control over the final result.
-
Combine with Other Tools: The Smudge Tool works well in conjunction with other Photoshop tools. For example, you might use it after using the Brush Tool for painting, or after using selection tools to refine edges.
Beyond the Basics
Once you’re comfortable with the basic Smudge Tool, explore its more advanced options. Experiment with different modes, pressures, and brush settings to discover its full potential. Practice using it in various projects, and you’ll find the Smudge Tool becomes an indispensable part of your Photoshop CS3 toolkit.
Mastering the Smudge Tool in Photoshop CS3 opens up a world of creative possibilities for both photo editing and digital art. By understanding its settings and practicing its application, you can add subtle refinements or dramatic effects to your images, enhancing your creative workflow and achieving professional-looking results. Keep experimenting and exploring – the Smudge Tool is a powerful ally in your Photoshop journey!