
Adobe Photoshop CS3 offers a suite of powerful tools for image retouching, and among them, the Patch Tool stands out for its ability to seamlessly repair and blend areas of your images. While Photoshop boasts various healing tools like the Spot Healing Brush, Healing Brush, and Red Eye Tool, the Patch Tool is particularly effective for larger imperfections and achieving more controlled, precise edits. This guide will delve into how to effectively use the Patch Tool in Photoshop CS3 to enhance your photo editing workflow.
The Patch Tool is essentially used to replace a selected area of an image with pixels from another area. It intelligently blends the texture, lighting, and shading of the source area with the destination area, creating a near-invisible repair. This makes it ideal for removing unwanted objects, blemishes, or even smoothing out wrinkles in portraits.
Let’s break down the functionality of the Patch Tool and how to use it step-by-step within Photoshop CS3.
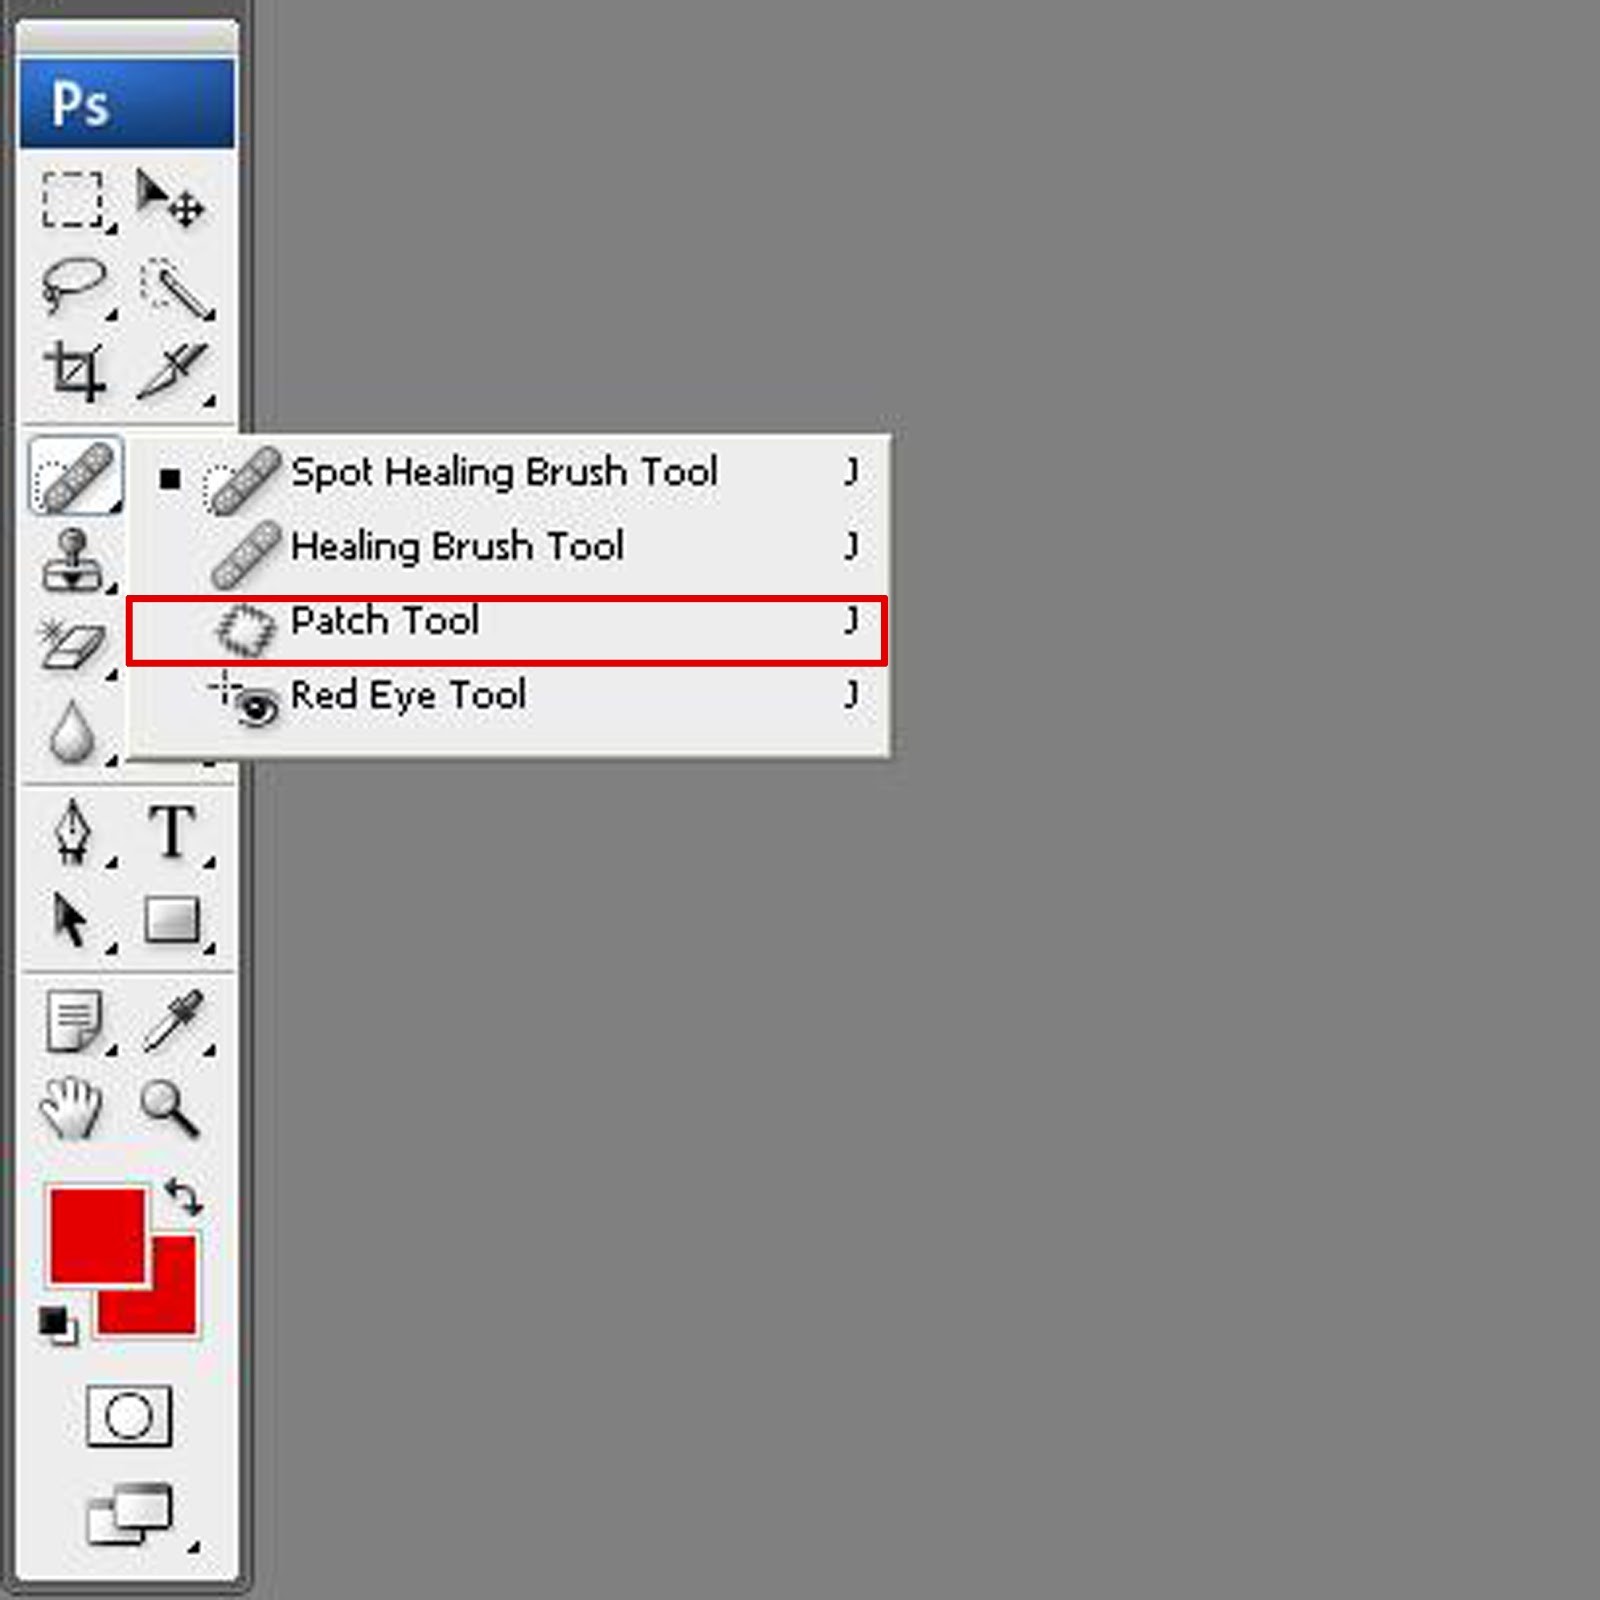
To locate the Patch Tool, first, identify the toolbar on the left side of your Photoshop CS3 interface. It is grouped with other healing tools. You can access it by clicking and holding the Healing Brush Tool icon until a fly-out menu appears, then select the Patch Tool icon.
The Patch Tool offers two primary modes of operation: Source and Destination. Understanding the difference is key to using the tool effectively.
-
Source: In this mode, you select the area you want to repair (the ‘source’ of the problem) and then drag your selection to a good area (the ‘destination’) to patch it. Photoshop will replace the selected source area with the texture and detail from the destination area.
-
Destination: Conversely, in Destination mode, you select a good area (the ‘destination’ you want to copy) and then drag that selection to the area you want to repair (the ‘source’). Photoshop will then copy the selected destination area over the source area.
For most retouching tasks, especially removing blemishes or objects, the Source mode is more intuitive and commonly used.
Let’s walk through a practical example of using the Patch Tool in Photoshop CS3, utilizing the Source mode to remove a distracting element from an image. Imagine you have a photo with an unwanted object, like a small blemish on a person’s face or, in our example, a cigarette butt near a cat.
-
Open Your Image in Photoshop CS3: Begin by opening the image you want to edit in Photoshop CS3.
-
Select the Patch Tool: As mentioned earlier, select the Patch Tool from the toolbar. Ensure that Source is selected in the options bar at the top of the screen. For older versions of Photoshop like CS3, “Source” is the relevant option, as Content-Aware Patch wasn’t introduced until later versions.
-
Make a Selection Around the Imperfection: Carefully draw a selection around the object or area you wish to remove. In our example, we’ll select the cigarette butt near the cat’s paw. You can do this by clicking and dragging with the Patch Tool to create a freehand selection around the unwanted element.
-
Drag the Selection to a Clean Area: Once you have your selection, click inside the selected area and drag it to a clean, similar-textured area of the image that you want to use as a replacement. For the cigarette butt, we can drag the selection to a nearby clean patch of pavement or stone.
-
Release and Let Photoshop Patch: Release the mouse button. Photoshop CS3 will now process the patch, seamlessly blending the texture and tones from the area you dragged to, into the original selection area.
-
Refine if Necessary: Examine the patched area. If the blend isn’t perfect or if remnants of the original object are still visible, you can repeat the process. Sometimes, small, iterative patches work best for complex areas. You may need to make a new selection and drag to a slightly different source area for optimal results.
And there you have it! The unwanted cigarette butt is now seamlessly removed from the image, thanks to the Patch Tool in Photoshop CS3.
Tips for Using the Patch Tool Effectively in Photoshop CS3:
-
Choose the Right Patch Mode: For most object removal and blemish correction, “Source” mode is recommended. Experiment with “Destination” mode for specific creative effects or when you want to transplant a texture onto another area.
-
Select Similar Textures: For the most natural results, drag your selection to a source area that has a texture and color tone similar to the area you’re patching. If you’re patching skin, select a source area of skin; if you’re patching grass, select a source area of grass.
-
Feathering for Smooth Blends: While not directly a Patch Tool option in CS3, consider using feathering with your initial selection (using selection tools before switching to the Patch Tool) for even smoother transitions, especially around edges.
-
Work Non-Destructively: Always work on a duplicate layer to preserve your original image. This allows you to experiment freely with the Patch Tool without permanently altering your base image.
The Patch Tool in Photoshop CS3 is a powerful asset in your photo editing toolkit. By mastering its Source and Destination modes, and practicing these techniques, you can achieve impressive results in retouching images, removing distractions, and perfecting your photographs. Experiment with different images and scenarios to fully grasp the versatility of this essential Photoshop tool and enhance your image editing skills.