
Adobe Photoshop CS3 offers a suite of powerful tools for photo editing and retouching, and among these, the Patch Tool stands out for its ability to seamlessly repair imperfections and remove unwanted elements from your images. Whether you’re aiming to eliminate blemishes, wrinkles, or distracting objects, understanding how to effectively use the Patch Tool is crucial for achieving professional-looking results. This guide will walk you through the process of using the Patch Tool in Photoshop CS3, enhancing your photo editing skills and helping you create flawless images.
Photoshop CS3 interface showcasing the toolbox, a powerful software for photo editing and retouching.
Understanding the Patch Tool in Photoshop CS3
The Patch Tool is located within the same group as the Healing Brush and Spot Healing Brush tools in your Photoshop CS3 toolbox. It’s designed for making larger repairs compared to the Spot Healing Brush, and offers more control than the Healing Brush when it comes to selecting the source area for your patch.
Essentially, the Patch Tool works by replacing a selected area of your image with pixels from another area, seamlessly blending the texture, lighting, and shading to create an invisible repair. It’s particularly effective for removing larger blemishes or objects where simply cloning or spot healing might not produce a natural-looking result.
Source vs. Destination: Choosing Your Patch Mode
When using the Patch Tool, you have two primary modes to choose from: Source and Destination. Understanding the difference is key to using the tool effectively:
-
Source: In this mode, you first select the area you want to repair (the source area). Then, you drag this selection to a good area of the image (the destination area). Photoshop will then source the texture and pixels from the destination area to patch the originally selected source area. This is generally used to replace a flawed area with a clean area from the same image.
-
Destination: In Destination mode, the process is reversed. You select a good area of your image (the destination area) and drag this selection to the flawed area you want to fix. Photoshop will then use the selected destination area to patch over the target flaw, effectively moving or “destinating” the good pixels to cover the imperfection. This mode is useful when you want to move a part of the image to another location to cover a flaw.
For most common retouching tasks like removing blemishes or objects, the Source mode is typically more intuitive and effective.
Step-by-Step Guide: Using the Patch Tool in Photoshop CS3 (Source Mode)
Let’s walk through a practical example of using the Patch Tool in Source mode to remove a distracting element from a photo. We’ll use the example of removing a cigarette butt from a picture of a cat.
-
Open Your Image in Photoshop CS3: Start by opening the image you want to edit in Photoshop CS3.
Original image of a cat with a cigarette butt near its paw, demonstrating a common photo imperfection that can be corrected with the Patch Tool. -
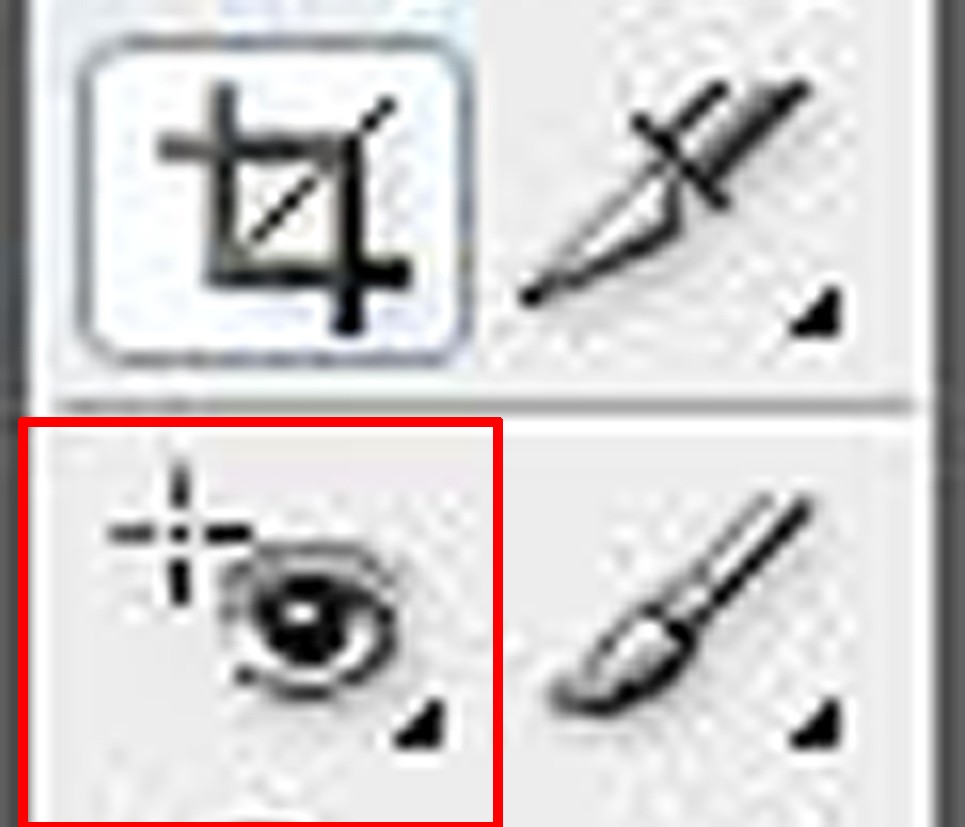
Select the Patch Tool: Locate the toolbox in Photoshop CS3. The Patch Tool is grouped with the Healing Brush and Spot Healing Brush tools. You can activate it by clicking on the Healing Brush Tool icon and then selecting the Patch Tool from the fly-out menu. Alternatively, you can press “J” on your keyboard to quickly select one of these tools, and then cycle through them until you reach the Patch Tool.
Toolbox view highlighting the Patch Tool icon, located in the same group as the Healing Brush Tool, essential for accessing the patch functionality. -
Ensure “Source” is Selected in the Options Bar: At the top of your Photoshop CS3 interface, you’ll see the Options Bar, which changes based on the tool you have selected. For the Patch Tool, make sure that “Source” is selected. This sets the tool to operate in Source mode, which is what we need for this example.
Options bar showing the “Source” option selected for the Patch Tool, indicating the mode for replacing imperfections with source pixels. -
Make a Selection Around the Imperfection: Using the Patch Tool, carefully draw a selection around the cigarette butt (or any imperfection you are targeting). Click and drag to create a closed selection that tightly encloses the unwanted element.
Image section circled in green to highlight the area around the cigarette butt being selected with the Patch Tool for removal.
-
Drag the Selection to a Clean Area: Once you have your selection, click inside the selected area and drag it to a clean, similar area of the image that you want to use as your patch source. In this case, we’ll drag it to a nearby area of the stone pavement that is free of distractions and has a similar texture and lighting.
Demonstration of dragging the selected area from the cigarette butt towards a cleaner stone area to serve as the patch source.
-
Release and Observe the Patch: Release the mouse button. Photoshop CS3 will automatically patch the selected area with the texture and pixels from the area you dragged to. The cigarette butt should now be seamlessly replaced by the surrounding stone texture.
Result after applying the Patch Tool, showing the cigarette butt seamlessly removed and replaced with texture from the selected source area.
-
Refine if Necessary: If the initial patch isn’t perfect, you can repeat the process. You might need to make smaller selections and patch multiple times to achieve a completely seamless result. For complex areas, you might also consider feathering your selection in the Options Bar before patching to soften the edges of the patch.
Tips for Best Results with the Patch Tool
-
Choose Similar Source Areas: For the most natural-looking results, always choose a source area that is visually similar to the area you are patching in terms of texture, color, and lighting.
-
Work in Small Increments: For larger or more complex repairs, it’s often better to work in smaller sections. Patching smaller areas at a time gives you more control and can lead to more seamless results.
-
Feather Your Selections: Using a slight feather on your Patch Tool selections (adjustable in the Options Bar) can help to blend the edges of the patch more smoothly with the surrounding pixels.
-
Content-Aware Fill (If Available): While this guide focuses on Photoshop CS3, newer versions of Photoshop offer “Content-Aware Fill” capabilities within the Patch Tool options. If you have access to a later version, experimenting with Content-Aware fill can sometimes produce even more impressive and automatic results.
Conclusion
The Patch Tool in Photoshop CS3 is an indispensable tool for anyone looking to perform photo retouching and remove unwanted elements from their images. By understanding its Source and Destination modes, and by following these step-by-step instructions and tips, you can effectively utilize the Patch Tool to achieve professional-quality image repairs and enhancements. Practice using this tool on various images to master its capabilities and elevate your photo editing workflow.
Final retouched image of the cat, showcasing a clean and natural result after using the Patch Tool to remove the distracting cigarette butt.