
Are you looking to dive into the world of modding GTA SA Lite on your Android device? One of the essential tools you’ll need is the GTA Img Tool. This application allows you to modify your game by replacing .dff files, which are crucial for changing vehicle models, character skins, and much more. If you’re new to modding and wondering how to get started with GTA Img Tool, you’ve come to the right place. This guide will walk you through the basics of using GTA Img Tool to replace .dff files and customize your GTA SA Lite experience.
Understanding .DFF Files and Replacement
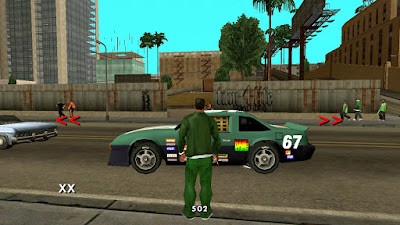
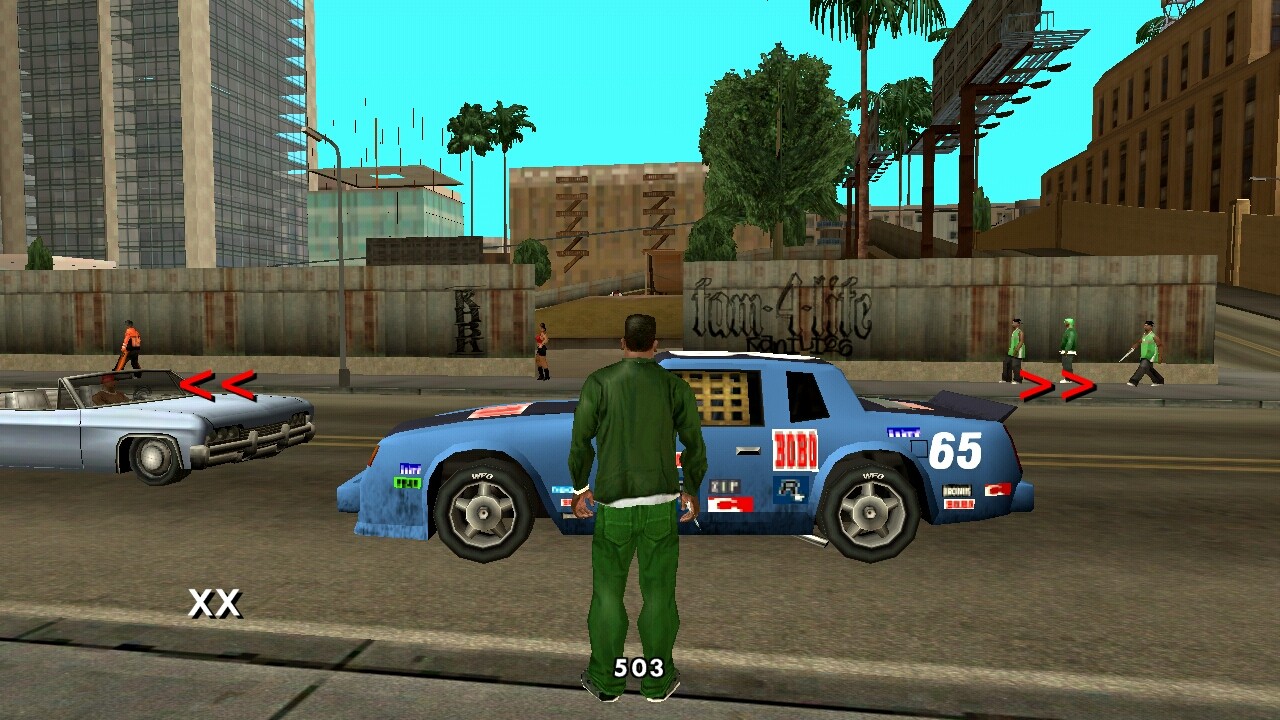
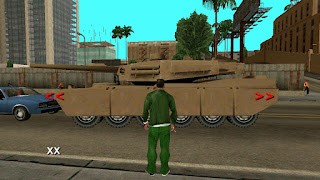
Before we jump into the tutorial, let’s understand what .dff files are and why replacing them is a key part of GTA SA Lite modding on Android. .DFF files are the backbone of 3D models in the GTA San Andreas game engine, dating back to the early days of GTA III. These files contain the 3D shape data for various in-game objects, such as vehicles, motorcycles, buildings, and character skins. For example, you might encounter files like nrg500.dff for a motorcycle or banshee.dff for a car.
Alongside .dff files, you’ll often hear about .txd files. While .dff files define the 3D shape, .txd files contain the texture or “skin” that wraps around these shapes. Think of .dff as the skeleton and .txd as the skin. Without the .txd file, a .dff model would appear as a plain white shape, lacking any color or detail.
For Android modding, especially in GTA SA Lite, focusing on “DFF Only” (DFFO) mods is common. These mods simplify the process by only requiring the replacement of .dff files, without needing to handle corresponding .txd files, making them easier to manage on mobile devices.
Where are these .dff files located? They are packed inside a large archive file called gta3.img. This gta3.img file is essentially a container, similar to a ZIP or RAR archive, holding thousands of .dff files with different names. On your Android device, you can find gta3.img in the following directory: memory internal/android/data/com.rockstargames.gtasa/files/texdb/gta3.img. Importantly, on Android, the gta3.img file can only be opened and modified using applications like GTA Img Tool.
To give you a better idea, here are some examples of .dff file names and their corresponding objects:
| DFF File Name | TXD File Name | Example Image |
|---|---|---|
| hotrina.dff | hotrina.txd | |
| hotrinb.dff | hotrinb.txd | |
| hotring.dff | hotring.txd | |
| rhino.dff | rhino.txd | |
| quad.dff | quad.txd |


Now that you understand what .dff files are and where to find them, let’s move on to the tutorial on how to replace them using GTA Img Tool.
Step-by-Step Tutorial: Replacing .DFF Files with GTA Img Tool
In this tutorial, we’ll guide you through the process of replacing a .dff file using GTA Img Tool. We’ll use the example of replacing the “hotrina” car model with a Lamborghini SV. For this example, you will need a Lamborghini SV DFF Only mod file.
What you will need:
- GTA Img Tool: If you don’t already have it, download the latest version of GTA Img Tool.
- Lamborghini SV DFF Only Mod: Download a DFF Only mod file, like the example Lamborghini SV mod.
Let’s begin:
Step 1: Open GTA Img Tool
First, make sure you have GTA Img Tool installed on your Android device. Open the GTA Img Tool application to start the modding process.
Step 2: Open IMG File
In the GTA Img Tool interface, you’ll see an option to “OPEN IMG”. Tap on this option to proceed to file selection.
Step 3: Locate and Select gta3.img
Navigate through your device’s internal storage to find the gta3.img file. The path is typically: internal/android/data/com.rockstargames.gtasa/files/texdb/gta3.img. Once you find it, select gta3.img to open it within GTA Img Tool.
Step 4: Search for the File to Replace
After opening gta3.img, use the search function in GTA Img Tool to find the .dff file you want to replace. In our example, we are replacing the “hotrina.dff” file. Type “hotrina.dff” into the search bar and press search.
Step 5: Replace the .DFF File
Once you’ve found “hotrina.dff” in the search results, tap and hold on the file name. A menu will appear. Select the “Replace” option from this menu.
Step 6: Locate and Select the Replacement File
Now, navigate to the location where you saved the Lamborghini SV .dff file (or whichever replacement .dff file you are using). Select the replacement .dff file. This will replace the original “hotrina.dff” file within the gta3.img archive with the new Lamborghini SV model.
Step 7: Verify in the Game
The replacement process is now complete. Launch GTA SA Lite on your Android device. To quickly check if the mod is working, you can use a cheat code to spawn the vehicle you replaced (in this case, the Hotrina). Alternatively, you can find it in the game world. You should now see the Lamborghini SV instead of the Hotrina.
Step 8: Enjoy Your Modded Game!
Congratulations! You have successfully replaced a .dff file in GTA SA Lite using GTA Img Tool. You can now enjoy driving around Los Santos in your new Lamborghini SV.
Conclusion
This tutorial has shown you the fundamental steps on how to use GTA Img Tool to replace .dff files in GTA SA Lite on Android. By mastering this technique, you can explore a vast range of mods available for GTA SA Lite, customizing everything from vehicles to characters and even environmental objects. Remember to always download mods from trusted sources and follow the instructions provided by mod creators. Happy modding, and enjoy your personalized GTA San Andreas experience!