
Modifying your GTA San Andreas on Android can seem daunting at first, especially when you’re looking to install new mods like cars, motorcycles, skins, or even aircraft. While the process shares similarities with PC modding, the tools and specific steps for Android require a bit of learning. This guide, based on practical experience, will walk you through how to use tools like Alci IMG Tool to enhance your GTA SA Android experience. Let’s dive in!
First, gather your essential tools:
- TXDFucker: (DOWNLOAD) – For texture editing on PC.
- Alci IMG Editor PC: (DOWNLOAD) – A versatile IMG editor for PC.
- IMG Tool Android: (DOWNLOAD) – For direct IMG file editing on Android.
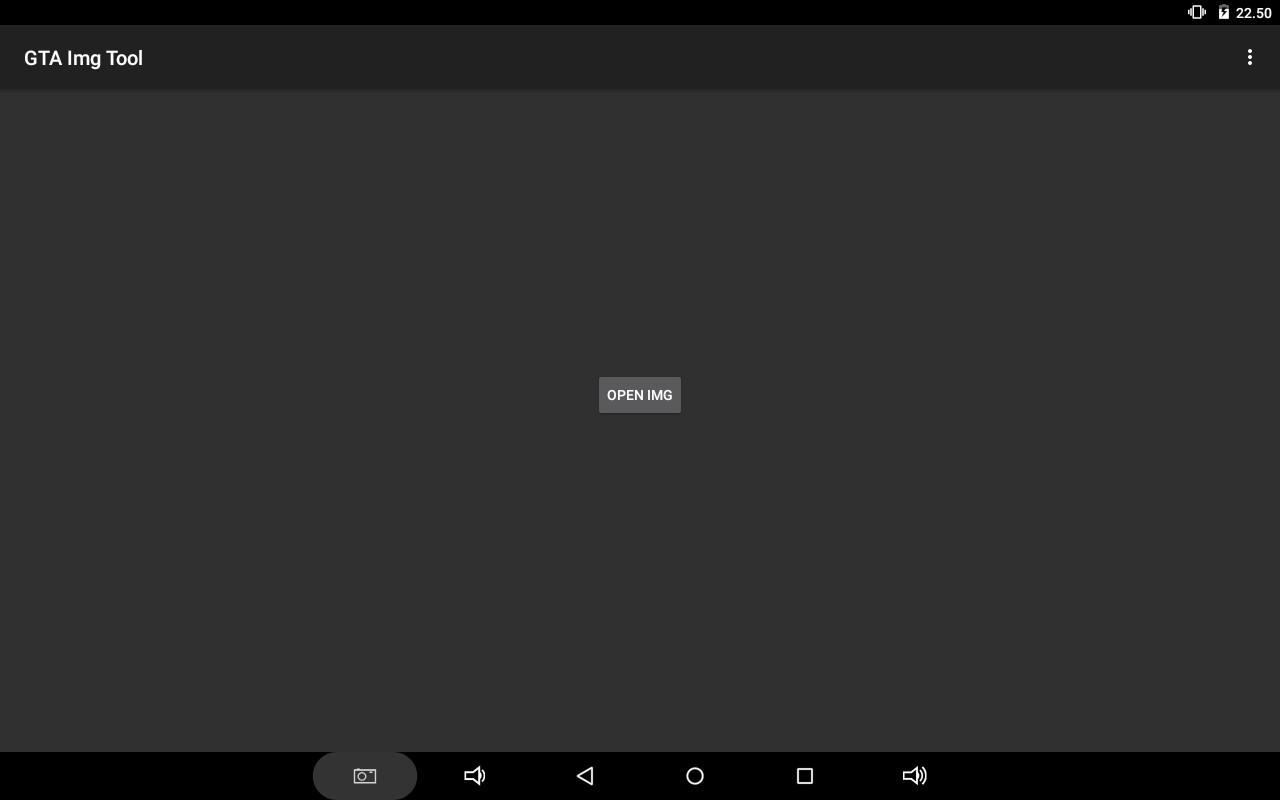
| IMG Tool Android Interface for Modding GTA SA |
Method 1: Android-Only DFF Model Replacement
This method is perfect if you want to modify vehicle models (DFF files) directly on your Android device without needing a PC. It’s important to note that this method primarily focuses on model replacement and doesn’t cover texture modifications.
Step 1: Prepare the gta3.img File
Before you begin, you need to locate and prepare the gta3.img file, which contains the game’s model data.
- Open File Explorer: Use your preferred file explorer app on Android.
- Locate OBB File: Navigate to the folder
.../Android/obb/com.rockstargames.gtasa/. Find the file namedpatch.8.com.rockstargames.gtasa.obb. - Rename to ZIP: Add
.zipto the end of the filename, changing it topatch.8.com.rockstargames.gtasa.obb.zip. - Extract
gta3.img: Use a ZIP extraction app like WinZip, ZArchiver, or Easy Unrar to open the renamed ZIP file. Inside, go to thetexdbfolder and extract thegta3.imgfile. Place this extractedgta3.imgin.../Android/data/com.rockstargames.gtasa/files/texdb/. - Rename OBB Back: Rename
patch.8.com.rockstargames.gtasa.obb.zipback topatch.8.com.rockstargames.gtasa.obbin the.../Android/obb/com.rockstargames.gtasa/folder. This is crucial for the game to function correctly.
Information Note: Placing gta3.img in the .../Android/data/com.rockstargames.gtasa/files/texdb/ directory ensures that the game prioritizes these files over those in the OBB archive. This is how mods are effectively implemented.
Step 2: Using IMG Tool Android to Replace DFF Models
Now that gta3.img is in the correct location, you can use IMG Tool Android to replace the DFF models.
- Install IMG Tool: If you haven’t already, install IMG Tool Android from the Play Store or using the download link provided earlier.
- Open IMG Tool App: Launch the IMG Tool application.
- Open IMG File: Tap “OPEN IMG.”
- Navigate to
gta3.img: Browse to.../Android/data/com.rockstargames.gtasa/files/texdb/and select thegta3.imgfile. - Find Model to Replace: Use the search bar to type the name of the model you want to replace (e.g., bullet, infernus, pcj).
- Replace Model: Once you find the model, tap and hold on its name until the menu appears. Select “Replace.”
- Select New DFF File: Locate the downloaded DFF mod file you want to install and tap “Select.”
- Rebuild IMG Archive: After replacing the model, tap the three dots icon in the top right corner and choose “Rebuild.” Wait for the rebuild process to complete.
That’s it! You’ve successfully replaced a DFF model in GTA SA Android using only your phone. Launch the game to see your new mod in action.
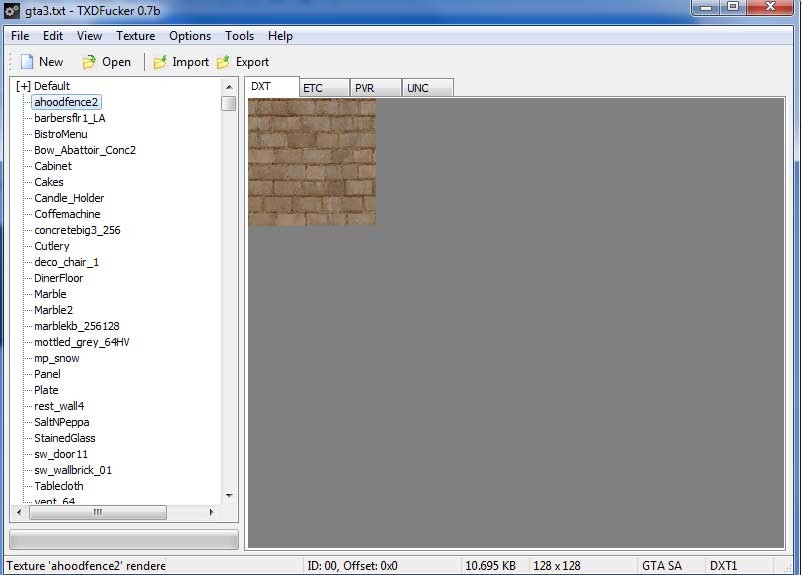
| TXD Fucker Interface for Texture Modification |
Method 2: Texture Modding with PC Assistance and Alci IMG Editor
For more advanced modifications like texture replacements, especially for adding realistic details, paint jobs, or character skins, using a PC is highly recommended. This method utilizes TXDFucker for texture editing and Alci IMG Editor can be used for managing IMG archives on PC, although for Android texture modding, TXDFucker is the primary tool after file preparation.
Step 1: Prepare Cache Files
Similar to DFF modding, you need to prepare game files, but this time focusing on texture caches.
- File Explorer: Open a file explorer on your Android device.
- Locate Main OBB: Go to
.../Android/obb/com.rockstargames.gtasa/and findmain.8.com.rockstargames.gtasa.obb. - Rename to ZIP: Rename it to
main.8.com.rockstargames.gtasa.obb.zip. - Extract
gta3Folder: Extract thegta3folder located withintexdb/gta3/inside the ZIP file. Place the extractedgta3folder into.../Android/data/com.rockstargames.gtasa/files/texdb/. - Rename OBB Back: Rename
main.8.com.rockstargames.gtasa.obb.zipback tomain.8.com.rockstargames.gtasa.obb.
Step 2: Texture Modification on PC with TXDFucker
With the gta3 folder prepared, you can now modify textures on your PC.
- Connect Android to PC: Connect your Android device to your computer via USB.
- Copy
gta3to PC: Copy thegta3folder from.../Android/data/com.rockstargames.gtasa/files/texdb/to a location on your computer’s hard drive. - Run TXDFucker: Launch the TXDFucker software you downloaded earlier. Disable antivirus temporarily if it interferes with the software.
- Open Textures: In TXDFucker, click “Open” (or File > Open, or Ctrl+O). Navigate to the copied
gta3folder on your PC. Open thegta3.txtfile within it. Wait for the textures to load. - Import New Textures: To replace a texture, find it in the list. Click “Import.” You’ll be asked to choose “With Alpha…” or “Without Alpha…” (use “With Alpha” for textures with transparency, “Without Alpha” otherwise – check mod instructions if provided). Select the appropriate option and choose your texture image file (PNG, JPG, GIF, TIF, BMP).
- Replace Confirmation: If a texture already exists, you’ll be asked to replace it. Click “Yes” to proceed.
- Repeat and Close: Repeat steps 5-6 for all textures you want to replace. Once finished, close TXDFucker.
- Copy
gta3Back to Android: Copy the modifiedgta3folder from your PC back to.../Android/data/com.rockstargames.gtasa/files/texdb/on your Android device, overwriting the old folder.
That’s it! You’ve now modified textures in GTA SA Android. Launch the game to see the visual enhancements.
Why copy the gta3 folder to PC? This step helps avoid potential errors like “No caches to load, lol” that can occur when directly accessing files on the Android device.
Alci IMG Editor’s Role: While TXDFucker is essential for texture editing, Alci IMG Editor serves a similar function to IMG Tool Android but for PC. You can use Alci IMG Editor to directly modify IMG files on your computer, providing an alternative way to manage and replace models if needed, although for texture-focused mods, TXDFucker is the more specialized and necessary tool in conjunction with texture files.
For those interested in adding Cleo mods to GTA SA Android, you can explore further tutorials dedicated to that process.
This guide offers a concise introduction to modding GTA San Andreas on Android. Enjoy customizing your game!