
Having issues with your IMEI on your Qualcomm Snapdragon device? A corrupted or null IMEI can lead to problems with network connectivity and device identification. Fortunately, with the right tools and steps, you can restore or repair your IMEI. This guide will walk you through the process of using the Qualcomm Smartphone Write IMEI Tool to fix IMEI issues on Snapdragon-powered devices. While this tool is specifically designed for Qualcomm chipsets, it’s important to note that devices with other chipsets, like SPD, might require different tools and procedures. If you are looking for solutions for SPD devices specifically, you would need to search for “Cara Ganti Imei Spd Tool” and find tools compatible with SPD processors. However, if you have a Qualcomm Snapdragon device, this guide is for you.
Before you begin, ensure you have the following prerequisites in place to prepare your device for the Qualcomm IMEI repair process:
- Enable USB Debugging: Access Developer Options in your Android settings and enable USB Debugging. If you don’t see Developer Options, navigate to Settings > About Phone and tap “Build Number” repeatedly (7-10 times) until Developer Options are unlocked.
- Unlock Bootloader (Potentially): Some devices may require an unlocked bootloader. If necessary, unlock your device’s bootloader. You can find guides online, such as on forums like XDA Developers, for specific device models.
- Root Access: Root permissions are necessary for this process. Magisk is a popular tool for rooting Android devices.
- SDK Platform Tools: Download and set up SDK Platform Tools on your PC. This provides essential tools like ADB (Android Debug Bridge). You can download the SDK Platform Tools for Windows from the official Android Developer website.
- Qualcomm IMEI Tool: Download the Qualcomm_Smartphone_Write_IMEI_Tool_v1.01.
Once you have these preparations complete, you can proceed with the steps to repair your IMEI.
Step-by-Step Guide to Repairing IMEI on Snapdragon Devices
1. Download and Install Qualcomm Drivers
First, you’ll need to download and install the Qualcomm drivers on your computer.
- Download the
qualcomm driver.zipfile. - Extract the contents of the zip file.
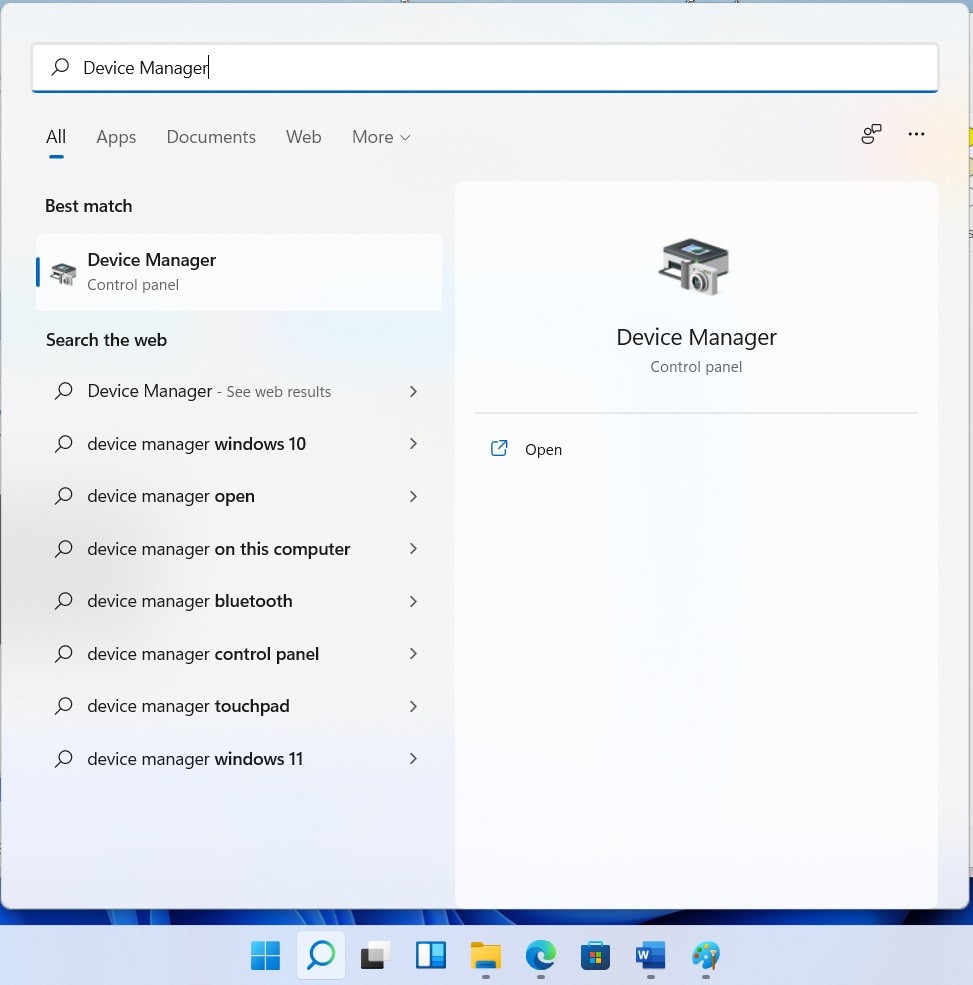
- Open Device Manager on your Windows PC.
- In Device Manager, right-click on your PC’s name at the top of the tree and select “Add legacy hardware”.
- Choose “Install the hardware that I manually select from a list (Advanced)” and click “Next.”
- Select “Show All Devices” and click “Next.”
- Click “Have Disk…”
- Browse to the location where you extracted the Qualcomm drivers and select the driver file to install the Qualcomm COM Port Driver manually. Follow the on-screen prompts to complete the driver installation.
2. Set Up ADB and Connect Your Device
Next, you need to set up ADB (Android Debug Bridge) and establish a connection between your computer and your Snapdragon device.
- Extract the SDK Platform Tools you downloaded earlier and copy the extracted folder to your C:/ drive for easy access.
- Connect your Snapdragon device to your PC using a USB cable.
- Open Command Prompt as an administrator.
- In the Command Prompt, navigate to the directory where you placed the SDK Platform Tools using the
cdcommand. For example, if you placed it inC:platform-tools, type:cd C:platform-tools
-
Once in the Platform Tools directory, execute the following ADB commands one by one, pressing Enter after each command:
adb devices(This command checks if your device is recognized by ADB)adb shell(This command opens an ADB shell on your device)su(This command requests Superuser/root access on your device. Grant root access when prompted on your device screen.)setprop sys.usb.config diag,adb(This command enables DIAG COM Port or DIAG Port, which is necessary for the IMEI writing tool to communicate with your device.)
3. Use Qualcomm Smartphone Write IMEI Tool
Now, you will use the Qualcomm Smartphone Write IMEI Tool to write the IMEI to your device.
- Download and extract the
Qualcomm_Smartphone_Write_IMEI_Tool_v1.01.zipfile to your PC. - Run the
Qualcomm_Smartphone_Write_IMEI.exefile as administrator. This will launch the Qualcomm IMEI Changer tool. - When prompted for a password, click on “Settings” and enter the password:
ustest. - In the settings window, select “Write IMEI1” and, if you have a dual SIM device, also select “Write IMEI2”. Click “OK”.
- Enter the correct IMEI number(s) in the provided fields. You can usually find the original IMEI on the device box or SIM tray.
- Select the COM Port as “USB”.
- Click the “Write1” button to start the IMEI writing process. If you are writing IMEI2 as well, click “Write2” after the first IMEI is written.
- Wait for a few seconds. You should see a “PASS” message indicating successful IMEI writing.
4. Reboot and Verify IMEI
Finally, reboot your device and verify if the IMEI repair was successful.
- Reboot your Snapdragon device.
- After rebooting, open the dialer app and dial
*#06#. - Your device should display the IMEI number(s) you wrote using the tool.
Congratulations! You have successfully repaired the IMEI on your Qualcomm Snapdragon device. This process should restore your device’s IMEI and resolve any network connectivity issues related to IMEI corruption. Remember to always use legitimate IMEI numbers that belong to your device. If you were initially looking for “cara ganti imei spd tool” and found yourself here, ensure you are using the correct tools for your device’s chipset. This guide is specifically for Qualcomm Snapdragon devices.