
Modifying your GTA San Andreas Android game can significantly enhance your gaming experience, allowing you to introduce new vehicles, characters, and objects. For beginners, navigating the modding process, especially when it comes to installing mods containing new cars, motorcycles, skins, or airplanes, might seem daunting. However, the process is quite straightforward, mirroring the modding approach for the PC version but utilizing slightly different tools tailored for Android.
This guide will walk you through the steps on how to use GTA IMG Tool on your Android device to install modifications into your GTA San Andreas game. Based on personal experience, this tutorial aims to provide a clear and easy-to-follow method for injecting new mods. Let’s get started!
Essential Tools for GTA San Andreas Android Modding
Before diving into the modding process, ensure you have the necessary tools ready. These applications will be crucial for modifying your game files:
-
TXDFucker (DOWNLOAD) – This tool is essential for editing texture files (.txd) on PC, allowing you to enhance visual aspects of your mods.
-
Alci IMG Editor PC (DOWNLOAD) – A PC-based IMG editor that functions similarly to IMG Tool Android, providing an alternative for modifying .img archives directly on your computer.
-
IMG Tool Android (DOWNLOAD) – The primary tool for this guide, allowing you to modify .img archives directly on your Android device.
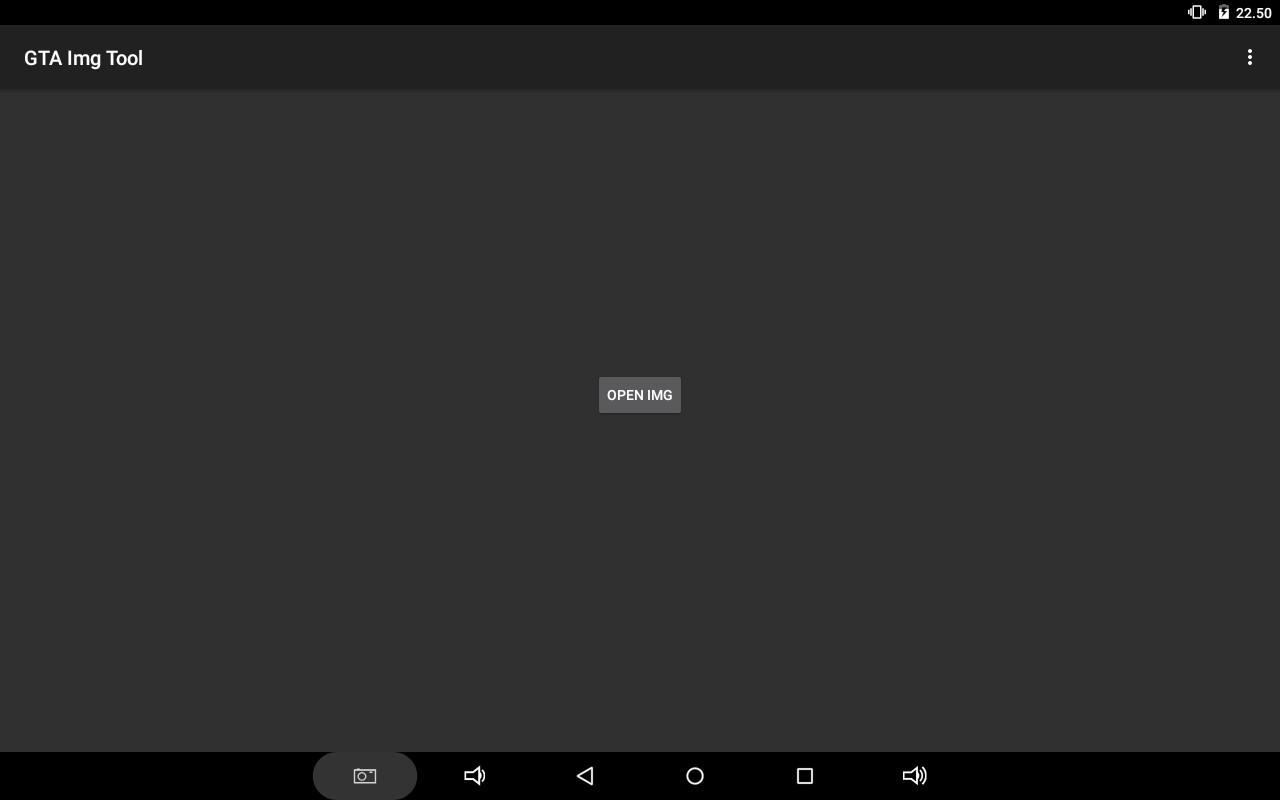
| IMG Tool Android Interface |
Method 1: Modifying DFF Files on Android Directly (No PC Required)
This method is ideal for adding mods that only replace the 3D models (.dff files) without altering textures. As of now, a dedicated TXD editor for Android is not readily available, making this method suitable for model-only modifications.
Step 1: Accessing the gta3.img File
The first step involves locating and preparing the gta3.img file, which contains the game’s model data.
- Open File Explorer: Use a file explorer application on your Android device.
- Navigate to OBB Folder: Go to the directory
Android/obb/com.rockstargames.gtasa/. - Locate OBB File: Find the file named
patch.8.com.rockstargames.gtasa.obb. - Rename to ZIP: Rename this file by adding
.zipat the end, so it becomespatch.8.com.rockstargames.gtasa.obb.zip. This allows you to open it as an archive. - Extract gta3.img: Use an archive extraction app like WinZip, ZArchiver, or Easy Unrar (available on the Play Store) to open the renamed ZIP file. Navigate to the
texdbfolder within the archive and extract thegta3.imgfile. Extract it to the directoryAndroid/data/com.rockstargames.gtasa/files/texdb/. - Rename OBB Back: After extraction, rename
patch.8.com.rockstargames.gtasa.obb.zipback topatch.8.com.rockstargames.gtasa.obbin theAndroid/obb/com.rockstargames.gtasa/folder. This is crucial for the game to function correctly.
By moving the gta3.img file to the specified texdb folder within your data directory, you prioritize this file for the game to read before accessing the OBB file. This mechanism allows modifications to take effect.
Step 2: Using IMG Tool Android to Replace DFF Files
With gta3.img prepared, you can now use IMG Tool Android to replace model files.
- Install IMG Tool Android: If you haven’t already, download and install IMG Tool Android from the provided link or the Play Store.
- Open IMG Tool: Launch the IMG Tool application.
- Open IMG File: Tap on “OPEN IMG” and navigate to
Android/data/com.rockstargames.gtasa/files/texdb/. Select thegta3.imgfile. - Find Model to Replace: Use the search function to find the name of the model you wish to replace (e.g., bullet, infernus, pcj). These are the internal names of vehicles and objects in the game.
- Replace Model: Once you find the model, tap and hold on its name until a menu appears. Select “Replace.”
- Select New DFF File: Locate the downloaded mod file (which should be a .dff file) and select it.
- Rebuild Archive: After replacing the file, tap the three-dot icon in the top right corner and choose “Rebuild.” Wait for the rebuild process to complete. This step is crucial for the changes to be applied correctly in the game.
After these steps, the new model is installed! You can now launch GTA San Andreas to see your newly added mod in action.
Method 2: Editing Textures with PC Assistance
For mods that include texture changes, using a PC is necessary due to the availability of PC-based TXD editors like TXDFucker. This method allows for comprehensive modifications, including realistic textures for vehicles, damage effects, and custom skins.
Step 1: Preparing Cache Files for Texture Modding
To modify textures, you need to access the game’s cache files, specifically the gta3 folder containing texture data.
- Open File Explorer: Use a file explorer on your Android device.
- Navigate to OBB Folder: Go to
Android/obb/com.rockstargames.gtasa/. - Locate Main OBB File: Find the file
main.8.com.rockstargames.gtasa.obb. - Rename to ZIP: Rename it to
main.8.com.rockstargames.gtasa.obb.zip. - Extract gta3 Folder: Open the ZIP file with an archive app. Navigate to
texdb/gta3/and extract the entiregta3folder toAndroid/data/com.rockstargames.gtasa/files/texdb/. - Rename OBB Back: Rename
main.8.com.rockstargames.gtasa.obb.zipback tomain.8.com.rockstargames.gtasa.obb.
Similar to Method 1, placing the gta3 folder in the data directory ensures these files are read by the game.
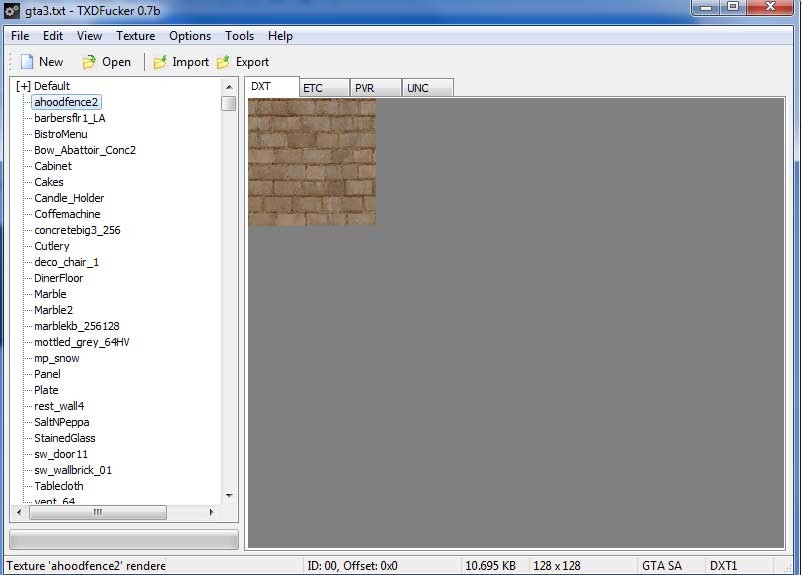
Step 2: Editing Textures Using TXDFucker on PC
Now, transfer the gta3 folder to your PC to use TXDFucker for texture modifications.
- Connect Android to PC: Connect your Android device to your PC via USB.
- Copy gta3 Folder to PC: Copy the
gta3folder fromAndroid/data/com.rockstargames.gtasa/files/texdb/to a location on your PC’s hard drive. - Run TXDFucker: Launch the TXDFucker software on your PC. If you encounter issues, temporarily disable antivirus software, as it might interfere with the application.
- Open gta3.txt: In TXDFucker, click “Open” or “File > Open” or press CTRL+O. Navigate to the copied
gta3folder on your PC, open it, and select thegta3.txtfile. Click “Open” and wait for the texture list to load. - Import Textures: Once loaded, you’ll see a list of textures. To import new textures from your downloaded mod, click “Import.” You will usually be prompted to choose between “With Alpha…” and “Without Alpha…” Select the option that matches the texture type (check the mod’s instructions if available. “With Alpha” is for textures with transparency). Locate the texture file (typically .png, .jpg, .gif, .tif, or .bmp) and click “Open.”
- Replace Existing Textures: If a texture with the same name already exists, you will be asked if you want to replace it. Click “Yes” to replace it with the new texture.
- Close TXDFucker: After importing all desired textures, close TXDFucker.
- Copy gta3 Folder Back to Android: Copy the modified
gta3folder from your PC back to theAndroid/data/com.rockstargames.gtasa/files/texdb/directory on your Android device, overwriting the old folder.
| TXD Fucker Interface |
The reason for copying the gta3 folder to your PC before using TXDFucker is to prevent potential errors like “No caches to load, lol,” which can occur when directly accessing files on an Android device.
Alternative: Alci IMG Editor on PC
For those who prefer to work on PC, Alci IMG Editor serves as a PC counterpart to IMG Tool Android. It allows you to directly modify .img files on your computer, offering another way to install model mods.
Conclusion
Modifying GTA San Andreas on Android opens up a world of customization. Whether you choose to replace models directly on your device or enhance textures with PC tools, the process becomes manageable with the right guidance. By following these steps, you can easily use GTA IMG Tool Android and other utilities to personalize your game and enjoy a fresh, modded experience. Dive in and start customizing your GTA San Andreas today!