
Adobe Photoshop is a cornerstone software for graphic designers and anyone involved in digital image manipulation. Whether you’re aiming to refine photos for your automotive repair documentation or create stunning visuals, understanding Photoshop’s tools is crucial. Among these, selection tools are fundamental, and the Magic Wand Tool stands out for its efficiency in isolating parts of an image based on color. This guide will explore the Magic Wand Tool in Photoshop CS4, alongside other essential selection tools, to enhance your image editing skills.
Understanding Photoshop’s Selection Tools
Selection tools in Photoshop allow you to isolate specific areas of an image for editing. Mastering these tools is the first step towards precise and effective image manipulation. Photoshop CS4 offers a variety of selection tools, each suited for different tasks. Key selection tool families include:
- Marquee Tools: For selecting rectangular, elliptical, and single-pixel rows or columns.
- Lasso Tools: For freehand, polygonal, and magnetic selections.
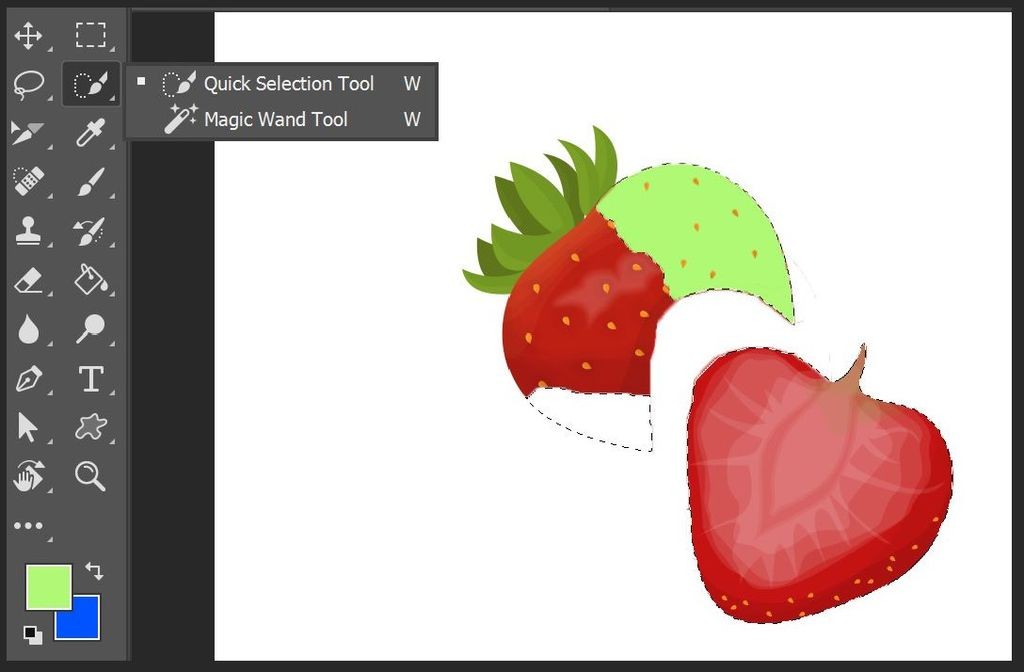
- Quick Selection Tool: For rapidly selecting areas based on edge detection.
- Magic Wand Tool: For selecting areas based on color similarity.
While all these tools are valuable, we’ll focus on the Magic Wand Tool and its practical applications.
Deep Dive into the Magic Wand Tool
What is the Magic Wand Tool?
The Magic Wand Tool is a selection tool in Photoshop that selects areas of an image based on tonality and color. It’s particularly useful for selecting areas with consistent color ranges, such as backgrounds, skies, or uniformly colored objects. Unlike tools that rely on edge detection, the Magic Wand selects pixels that are similar in color value to the pixel you initially click on.
How to Use the Magic Wand Tool in Photoshop CS4
Here’s a step-by-step guide to using the Magic Wand Tool in Photoshop CS4:
-
Select the Magic Wand Tool: Find the Magic Wand Tool in the Tools panel. It’s often grouped with the Quick Selection Tool. The icon resembles a magic wand. You can also activate it by pressing W on your keyboard.
-
Adjust Tolerance: In the Options Bar at the top of the screen, you’ll see the Tolerance setting. Tolerance determines the range of colors the Magic Wand will select.
- Lower Tolerance (e.g., 0-30): Selects a very narrow range of colors similar to the pixel you click. Useful for precise selections within areas of very similar colors.
- Higher Tolerance (e.g., 30-100+): Selects a wider range of colors. Good for selecting larger areas with slight color variations.
-
Contiguous Option: The Contiguous option in the Options Bar controls whether the selection includes only adjacent areas of similar color or all similar colors throughout the image.
- Contiguous Checked: Selects only the areas of similar color that are directly connected to the pixel you clicked.
- Contiguous Unchecked: Selects all areas of similar color throughout the entire image, regardless of whether they are connected to the initial click point.
-
Sample Size: While less frequently adjusted for basic use, the Sample Size option (often found in newer versions but may be simplified in CS4) allows you to specify the area Photoshop samples to determine the selected color. Point Sample (single pixel) is usually sufficient for most tasks.
-
Make a Selection: Click on the area of the image you want to select. The Magic Wand will select pixels based on the Tolerance and Contiguous settings.
-
Add to or Subtract from Selection:
- Add to Selection: Hold down Shift and click on another area. This will add the newly clicked area (and similar colors) to your existing selection.
- Subtract from Selection: Hold down Alt (Windows) or Option (Mac) and click on an area within your selection. This will remove the clicked area (and similar colors) from your selection.
-
Refine Your Selection: After the initial selection, you might need to refine it. You can use tools like:
- Quick Mask Mode (Q): Allows you to paint additions or subtractions to your selection using brushes.
- Select and Mask (Refine Edge in older versions): Provides advanced controls for smoothing edges, feathering, and more.
Tips and Tricks for Effective Magic Wand Use
- Start with Tolerance: Begin with a low Tolerance value and gradually increase it if the initial selection is too limited.
- Use Contiguous Wisely: For selecting a specific object separated from other similarly colored areas, keep Contiguous checked. Uncheck it when you want to select all instances of a color throughout the image.
- Zoom In: For precise selections, zoom in to your image (Ctrl + Plus key or Cmd + Plus key) to see individual pixels and make more accurate clicks.
- Combine with Other Tools: Don’t rely solely on the Magic Wand. Use it in combination with Lasso Tools or Quick Selection Tool for complex selections. For example, use the Magic Wand for the initial color-based selection and then refine the edges with the Lasso Tool.
Magic Wand Tool vs. Quick Selection Tool
Both the Magic Wand and Quick Selection Tools are fast selection methods in Photoshop, but they work differently:
- Magic Wand: Selects based on color similarity from a single click point. Best for areas of uniform color.
- Quick Selection Tool: “Paints” a selection based on edge detection and texture. Excellent for quickly selecting objects with well-defined edges.
Choose the Magic Wand when you need to select areas based on consistent color, and the Quick Selection Tool when you’re selecting objects with distinct edges. Often, using them in combination yields the best results.
Common Issues and Troubleshooting
- “Magic Wand selects too much”: Lower the Tolerance value in the Options Bar. Ensure Contiguous is checked if you only want to select connected areas.
- “Magic Wand doesn’t select enough”: Increase the Tolerance value. Uncheck Contiguous if the area you want to select is not directly connected.
- “Jagged or rough selection edges”: Use the “Refine Edge” (or “Select and Mask” in newer versions) feature to smooth and refine the selection boundary. Feathering can also soften edges.
Other Essential Photoshop Tools for Beginners
While mastering selection tools is key, Photoshop offers a wide range of tools. Here are some other essential tools for beginners, similar to those found in the original article, categorized for clarity:
Navigation & Basic Manipulation:
-
Move Tool (V): Moves layers, selections, and guides.
-
Crop Tool (C): Trims and straightens images.
-
Eyedropper Tool (I): Samples colors from an image.
Drawing & Painting:
-
Brush Tool (B): Paints brush strokes with customizable brushes.
-
Eraser Tool (E): Erases pixels.
-
Gradient Tool (G): Creates color blends.
-
Type Tool (T): Adds text to images.
Retouching & Repair:
-
Spot Healing Brush Tool (J): Removes blemishes and imperfections.
The Spot Healing Brush Tool is excellent for quick and seamless removal of small imperfections like spots or dust.
Shape & Path Tools:
-
Shape Tools (U): Draws vector shapes like rectangles, ellipses, etc.
-
Pen Tool (P): Creates precise paths and selections.
-
Direct Selection Tool (A): Edits anchor points on vector paths and shapes.
Other Tools:
-
Marquee Tool (M): Makes rectangular and elliptical selections.
Marquee Tools are your go-to for basic geometric selections, like squares, rectangles, and circles.
-
Lasso Tool (L): Makes freehand selections.
(No image available in original article for Lasso Tool)
The Lasso Tool gives you freehand drawing ability to create custom selection shapes. -
Blur Tool: Softens edges and details.
The Blur Tool softens areas to reduce focus or create depth of field effects. -
Slice Tool & Slice Select Tool (K): Divides images into web slices.
Slice Tools are used for web design to divide images into sections for optimized loading and interactivity.
Conclusion
Mastering the Magic Wand Tool is a significant step in your Photoshop journey. Combined with other selection tools and fundamental Photoshop functionalities, you’ll be well-equipped to tackle various image editing tasks. Practice using the Magic Wand Tool with different Tolerance and Contiguous settings, and experiment combining it with other selection tools to achieve precise and efficient selections. As you continue to explore and practice with these tools, your proficiency in Photoshop and digital image manipulation will grow, opening up a world of creative possibilities.